RFID barrier gate
This guide explains how to implement a RFID/NFC card controlled barrier system. After the card has been read by the RFID/NFC card reader, it will transmit the card ID to the control PC for analyzing. If this ID figures in the database, the control PC will turn the barrier control relay to on state for 20 seconds to open up the barrier. After 20 seconds, the barrier will close down.

Step 1: RFID barrier gate components
Step 2: Start robot controller in Ozeki 10
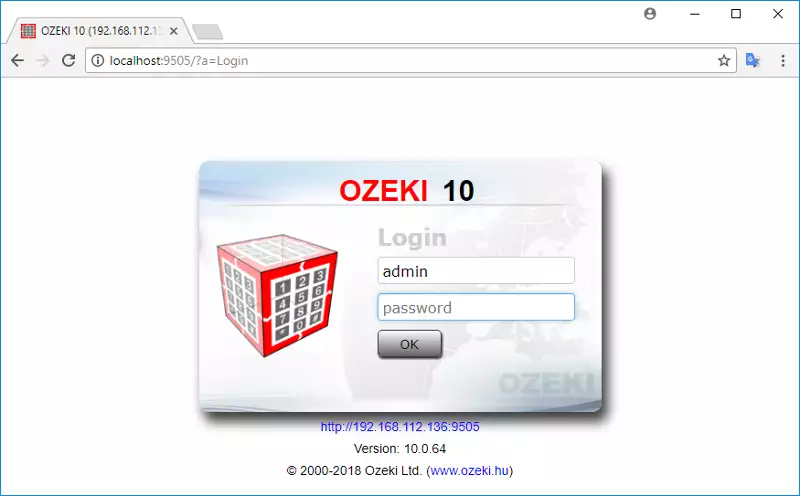
Ozeki 10 is a messaging system for Windows, Ubuntu Linux and Raspbian OS. It can be used to control devices such as NFC reader and relay board using simple text messages. To start Ozeki 10 you need to open your web browser then navigate to the following URL: http://localhost:9505. After it have loaded, you will see the login page (Figure 2). Type admin as a login name and the password that you have entered during the installation.

On this desktop page (Figure 3) you can see all the installed applications on Ozeki 10. The Robot Controller is a built-in application that basically forms part of the system. To open it, click on its icon.

After you have connected the NFC reader and a relay board to your PC, the system will detect them automatically and their connections will show up on the right-handed Connections panel as MyRC522Nf and MyRelay. The final step to make RFID/NFC card controlled barrier system work is to write the code in C#.NET that controls the messages between these connections. To execute the code, click on the Run button on the toolbar (Figure 4).

Step 3: Write the code in robot controller
This is the logic of the RFID/NFC card controlled barrier system. This controls the messages between RFID/NFC reader and relay entities. Copy the following code to Ozeki Robot Controller then execute it by pressing Run.
using System;
using System.Media;
using System.Threading;
using System.Threading.Tasks;
using System.Collections.Generic;

namespace Ozeki
{
    public class Program
    {
      	List<string> keys;

        public void Start()
        {
          	initKeysList();
         	Subscribe("MyRC522Nfc@localhost");
        }

        public void Receive(Message msg)
        {
            if(msg.FromConnection=="MyRC522Nfc@localhost")
            {
                if(keys.Contains(msg.Text)){
                 	openBarrier();
                }
            }
        }

      	void openBarrier()
        {
       	    Send("MyRelay@localhost","on");
      	    System.Threading.Thread.Sleep(20000);
    	    Send("MyRelay@localhost","off");
        }

       void initKeysList(){
            keys = new List<string>();

            keys.Add("6ba9dc95");
            keys.Add("6babfcf5");
        }
    }
};
Step 4: The code explained
The source code has two entry points: the Start and the Receive functions. The
Start function is executed automatically when you press the Run button in Ozeki
Robot Controller and the Receive function is called when there is an incoming message.
In Start function, you need to initialize the keys list that contains all the valid
IDs by calling initKeysList function. In this example, two identifications are
accepted by the system: 6ba9dc95 and 6babfcf5. Then need to subscribe for the
messages of RFID/NFC reader using the Subscribe method with MyRC522Nfc@localhost parameter.
When a card is scanned by the NFC card reader, the Receive function will be executed.
Using its Message parameter, you can filter the connection and get the ID of the read
card. The system will verify if the received ID is in the keys list. If yes, it will call
the openBarrier function that will turn the barrier control relay to open state to
open up the barrier for 20 seconds.
