How to convert a PPT into ODP using LibreOffice
This step by step guide show you how to convert your existing PPT presentation to ODP file format using LibreOffice software.
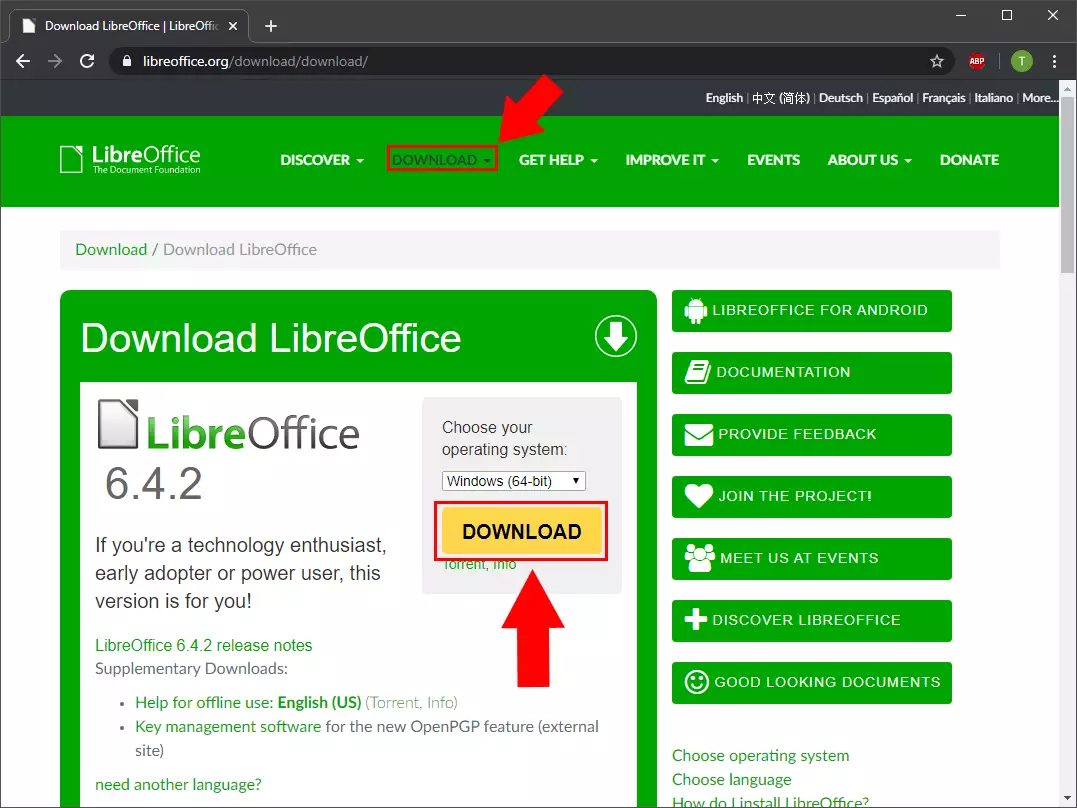
Step 1 - Download LibreOffice
The first step is to download the LibreOffice from libreoffice.org. Select the Download option on the top of the page and then click on the big yellow Download button (Figure 1).
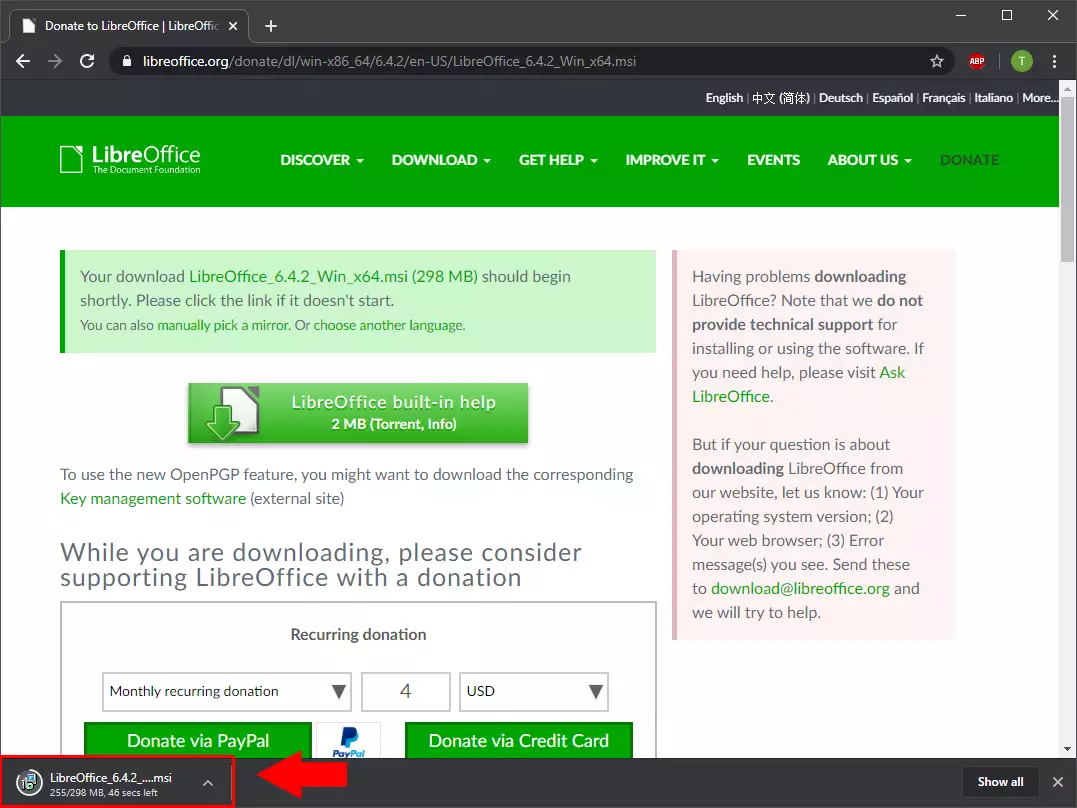
Step 2 - LibreOffice downloading
In the brower you can see that the LibreOffice is downloading (Figure 2).
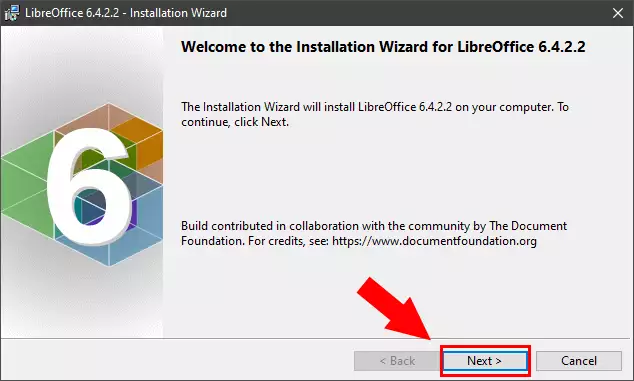
Step 3 - Start installation
After the download is finished open the installer and you will see the LibreOffice Installer welcome page. Click on the next button (Figure 3).
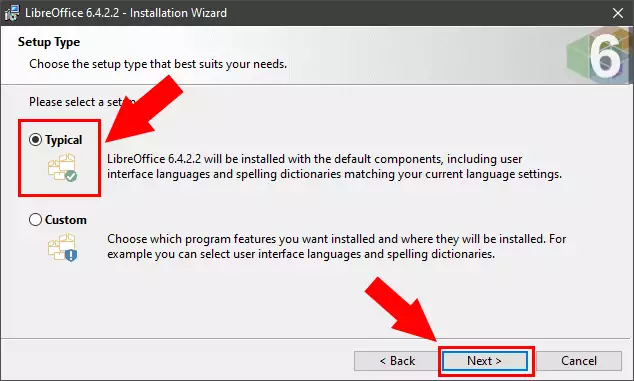
Step 4 - Select typical install
In the Setup Type page select the Typical install option and then the next button (Figure 4).
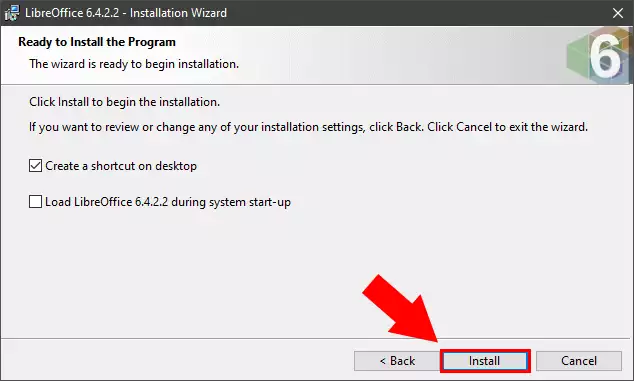
Step 5 - Ready to install
On the next page click on the Install button and the installation process will start (Figure 5).
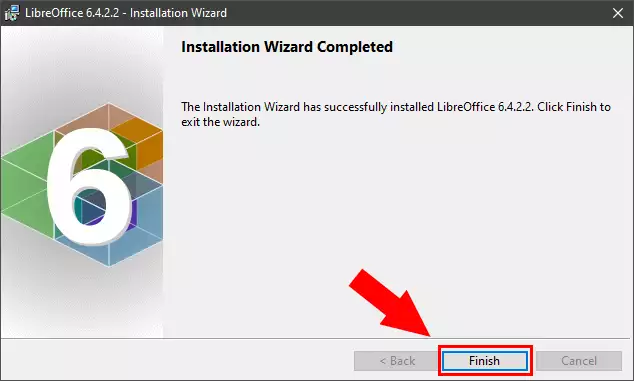
Step 6 - Installation finished
After installation is complete you will see the Installation Comppleted window. Here click on the Finish button (Figure 6).
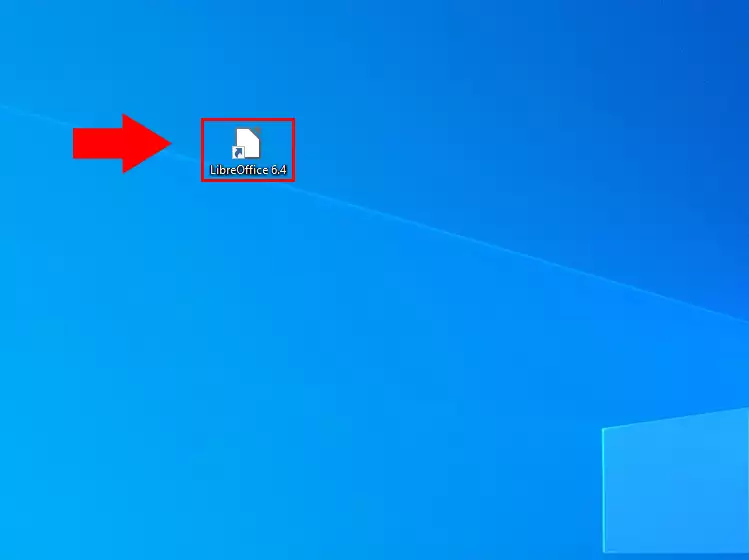
Step 7 - Open LibreOffice
Now open the LibreOffice software from your destktop (Figure 7).
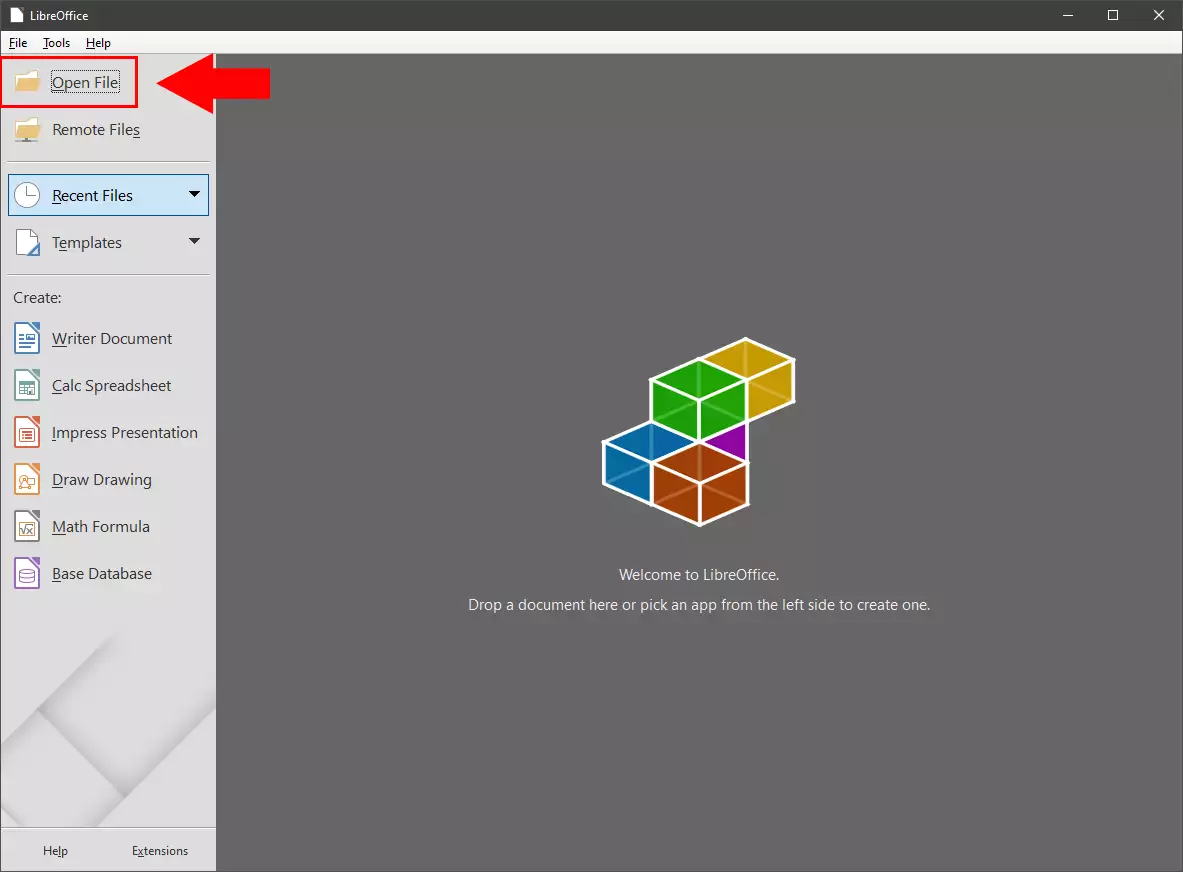
Step 8 - Open File
After the LibreOffice is opened select the Open File option on the main page (Figure 8).
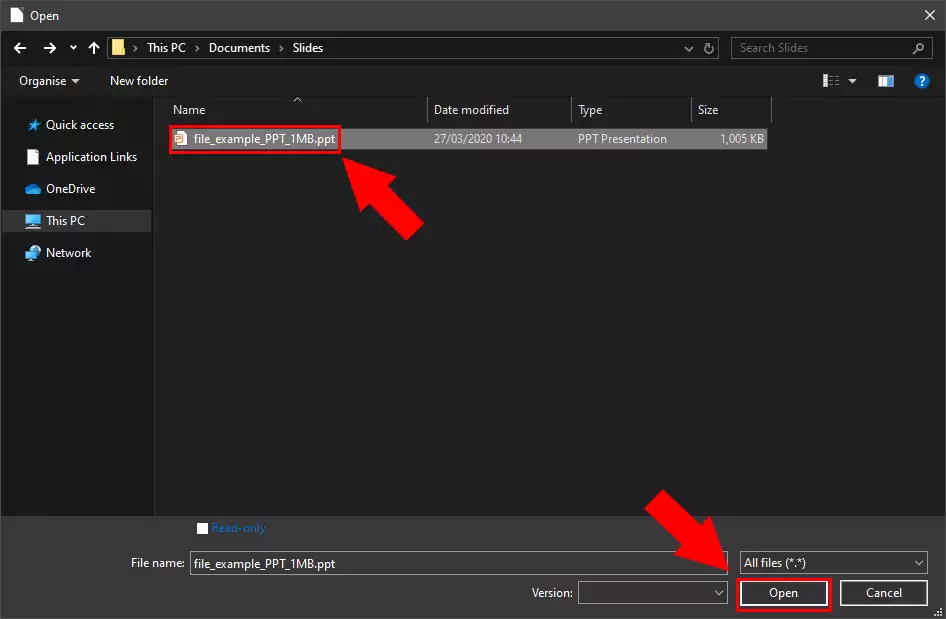
Step 9 - Select PPT file
A file browser will open where you select the PPT you want to upload. Select the file and then click on open button as you can see on the Figure 9.
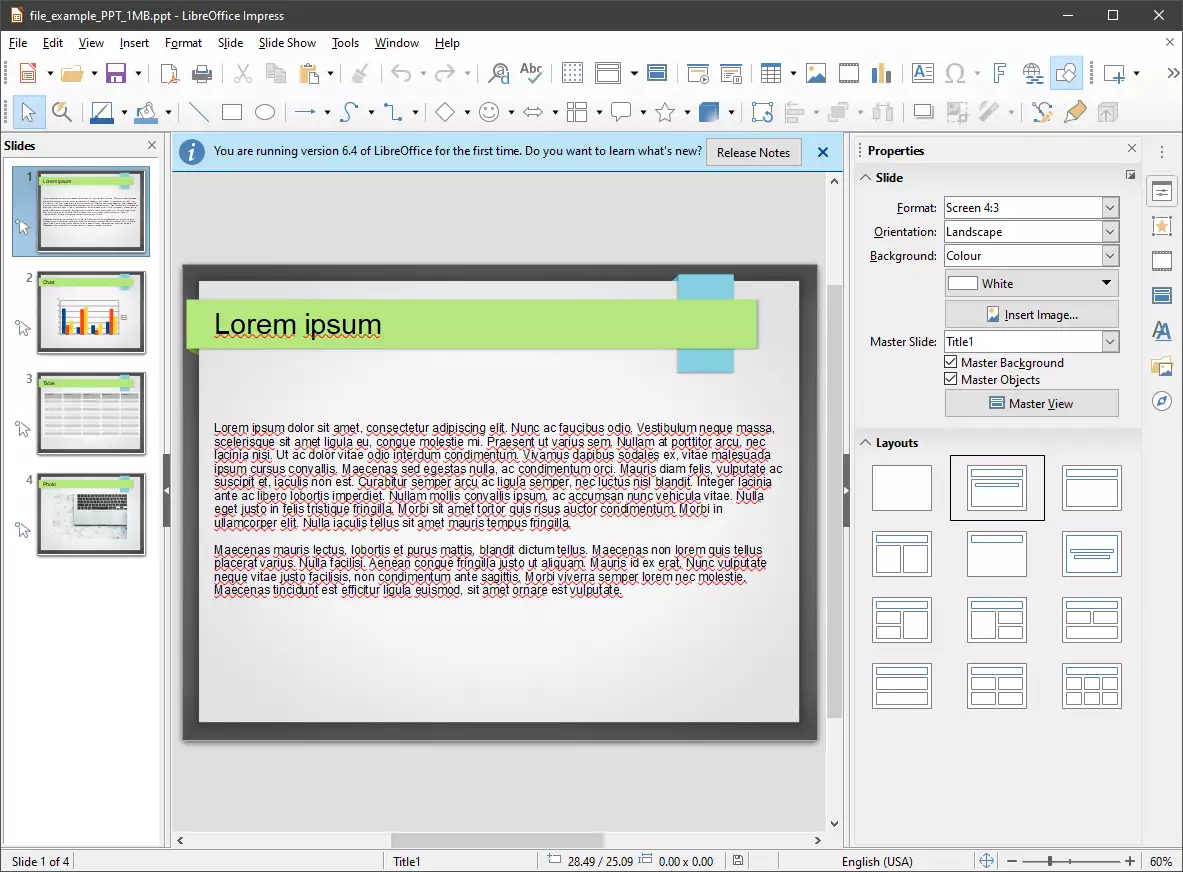
Step 10 - File opened
After it you will see the opened PPT in the LibreOffice as Figure 10 demonstrates it.
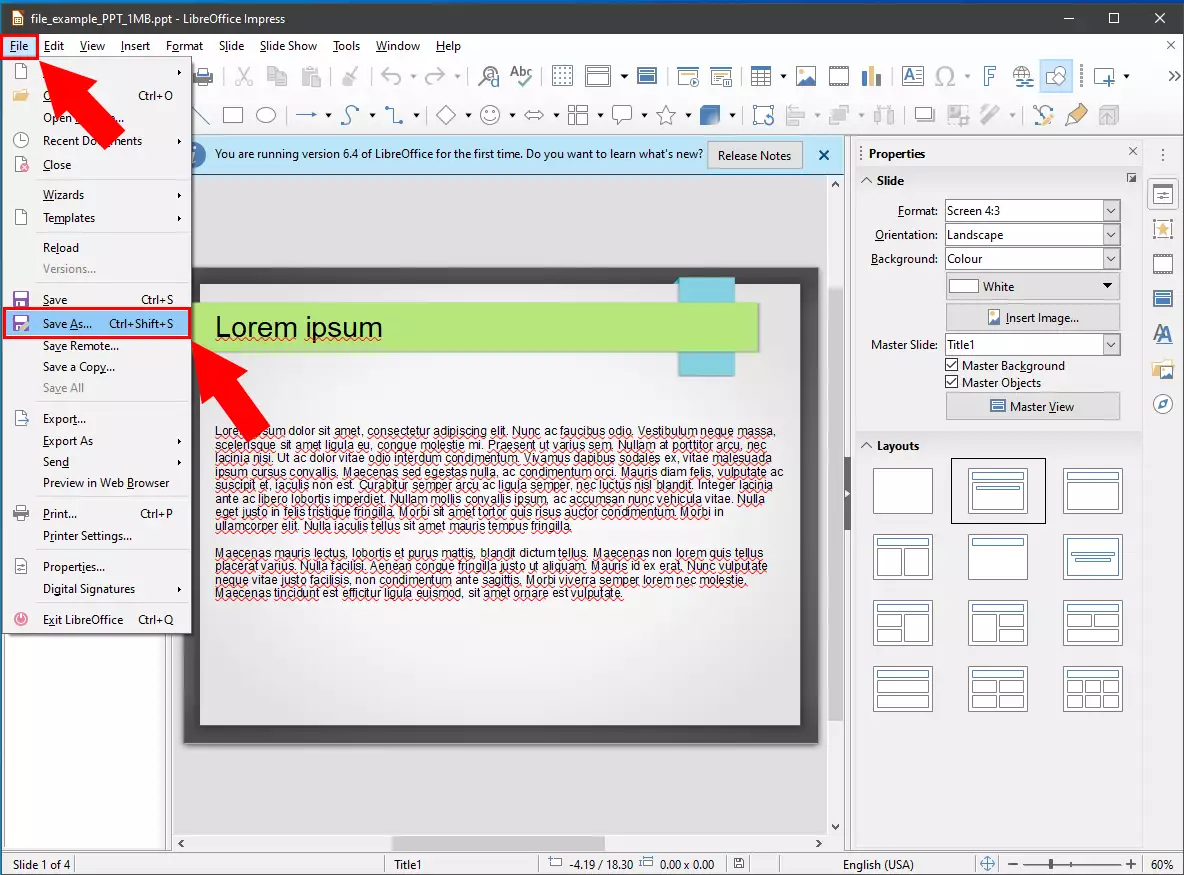
Step 11 - Open Save as...
Now you need to Save this presentation as ODP file. To do that, as Figure 11 demonstrates, open the File menu and then choose Save ass...
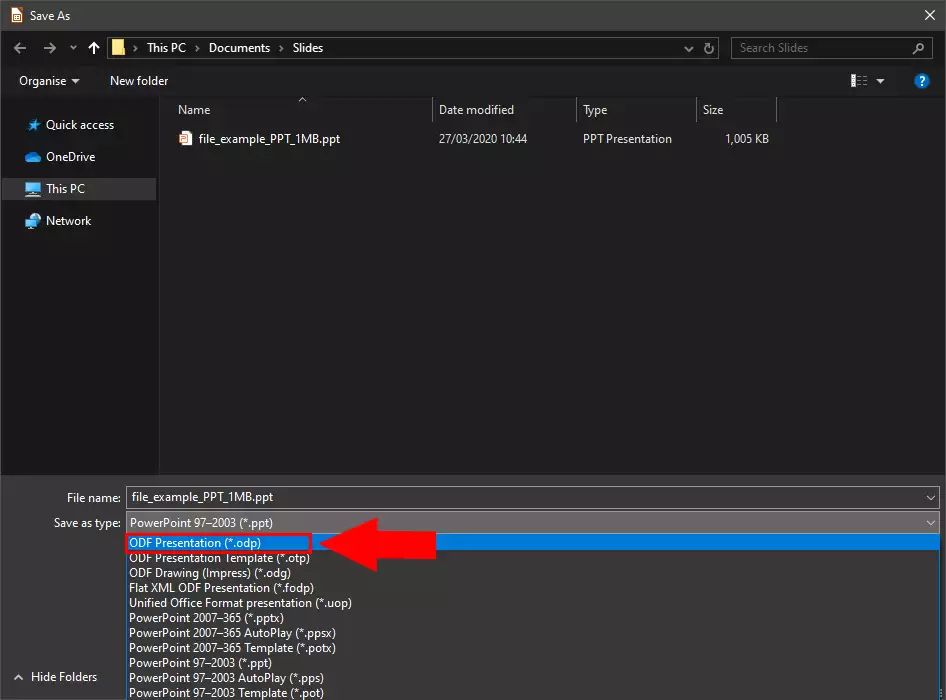
Step 12 - Select ODP type
In the file browser's Save as type section select the ODF Presentation (*.odp) option (Figure 12).
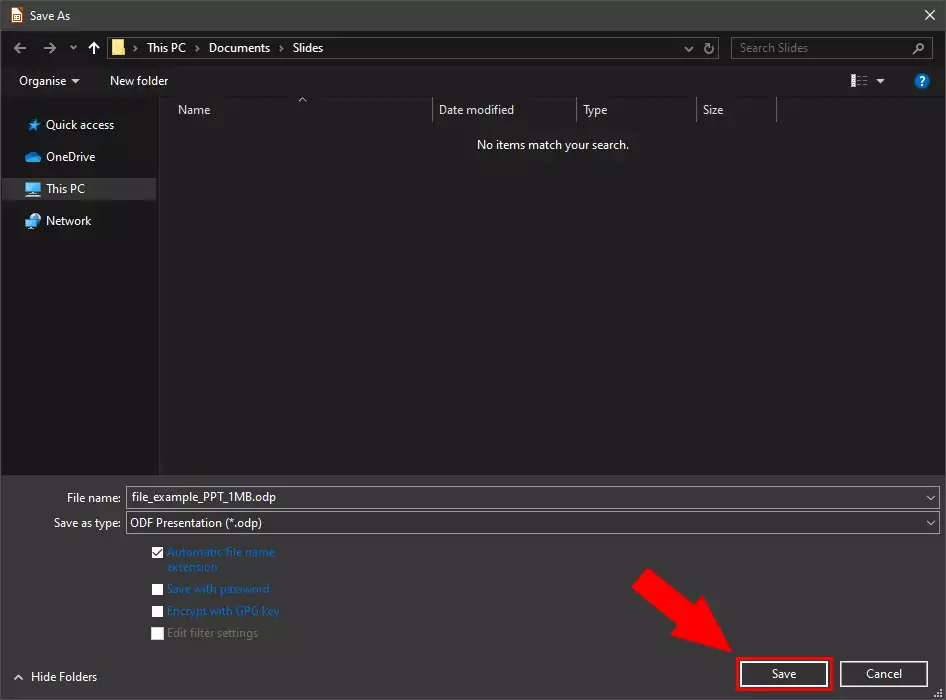
Step 13 - Save in ODP
And finally save the new ODP file with the save button (Figure 13).
