How to create slideshow presentation in the Ozeki Virtual Classroom
In the Ozeki Virtual Classroom you have the opportunity to give a Slideshow presentation to the students. When you open a slideshow, it automatically opens for students too, and when you scroll through the slides, the page number for students also changes.
Step 1 - Open Slides page
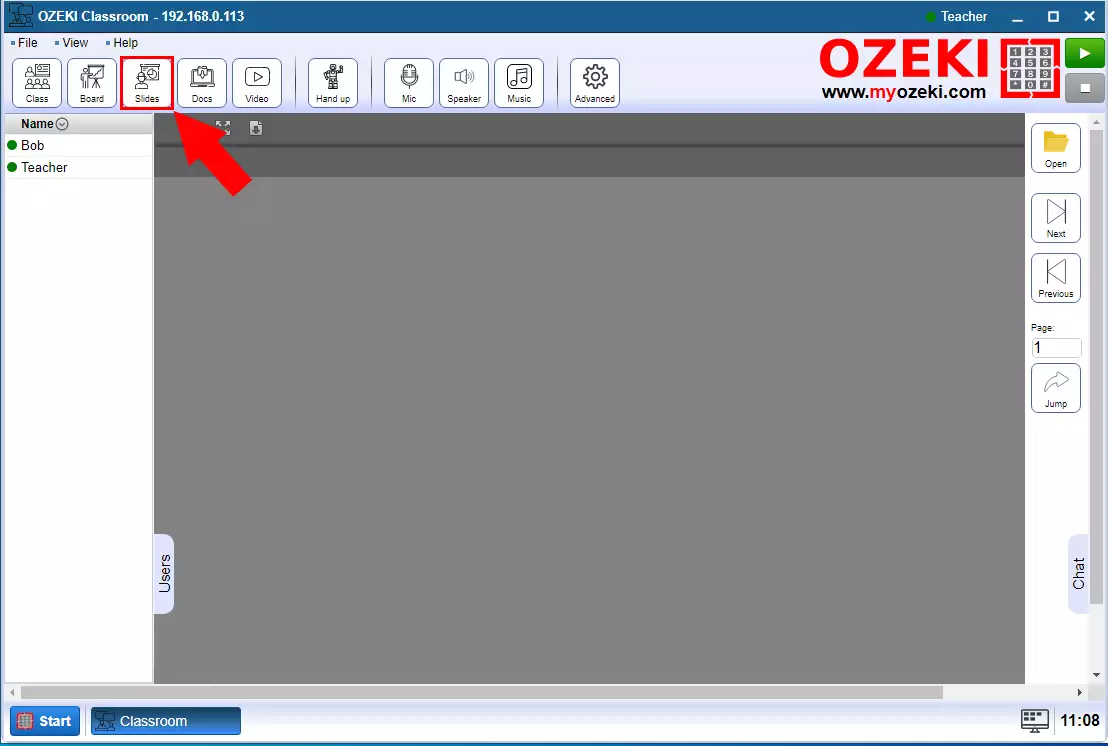
The first step is to open the slides page by clicking the Slides button (Figure 1).

Step 2 - Open ODP file
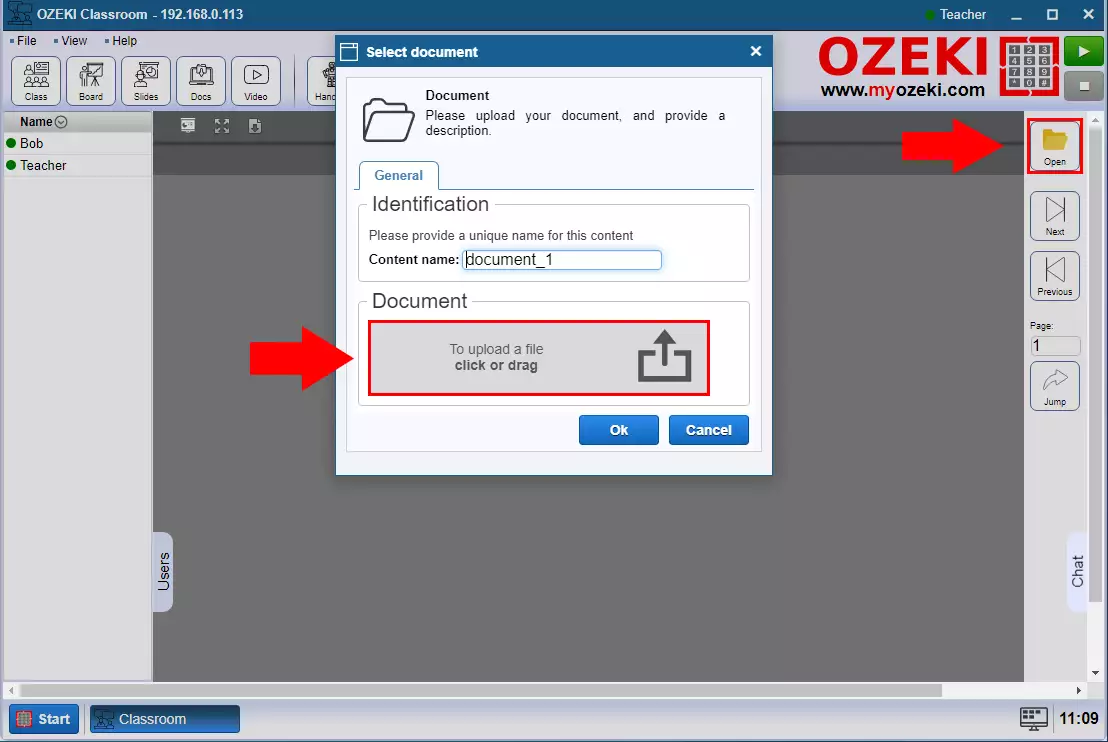
To be able to project a slideshow, you need to upload it to the Ozeki Virtual Classroom. Click the Open button and Drag the ODP into the upload box or click on it and search for it in windows file explorer (Figure 2).

Step 3 - File uploaded
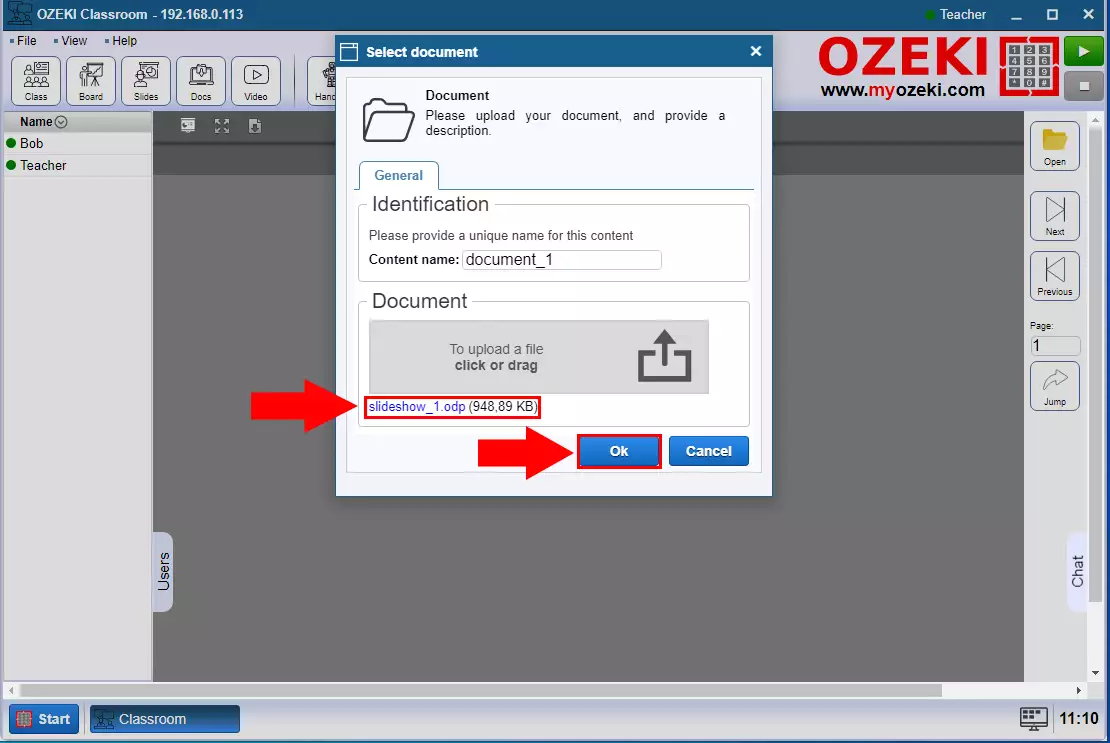
The slideshow file name will appear below the box when the upload is complete. Then press OK (Figure 3).

Step 4 - Slide opened
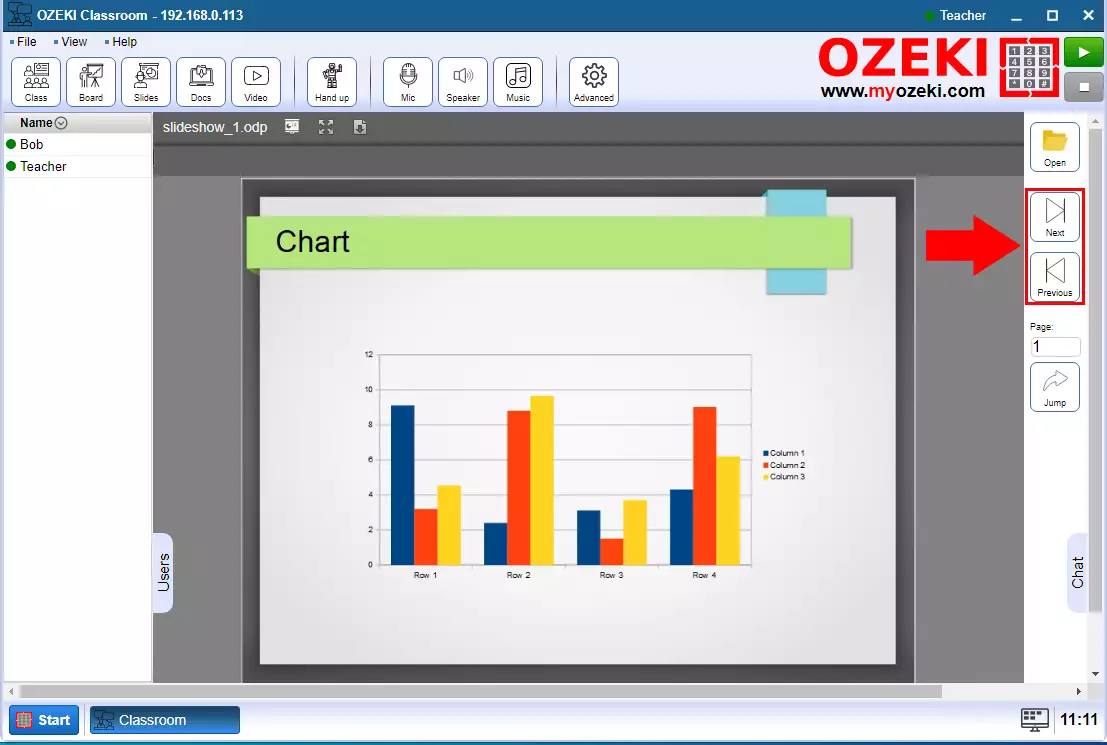
The slideshow will then appear in the center of the page. When you scroll through the slideshow, the display of the pages changes in the same way for students (Figure 4).

