How to get a free SSL certificate
This documentation shows you how you can get a free SSL certificate form your Ozeki 10 to securely connect to it from anywhere.
Step 1 - Open sslforfree.com
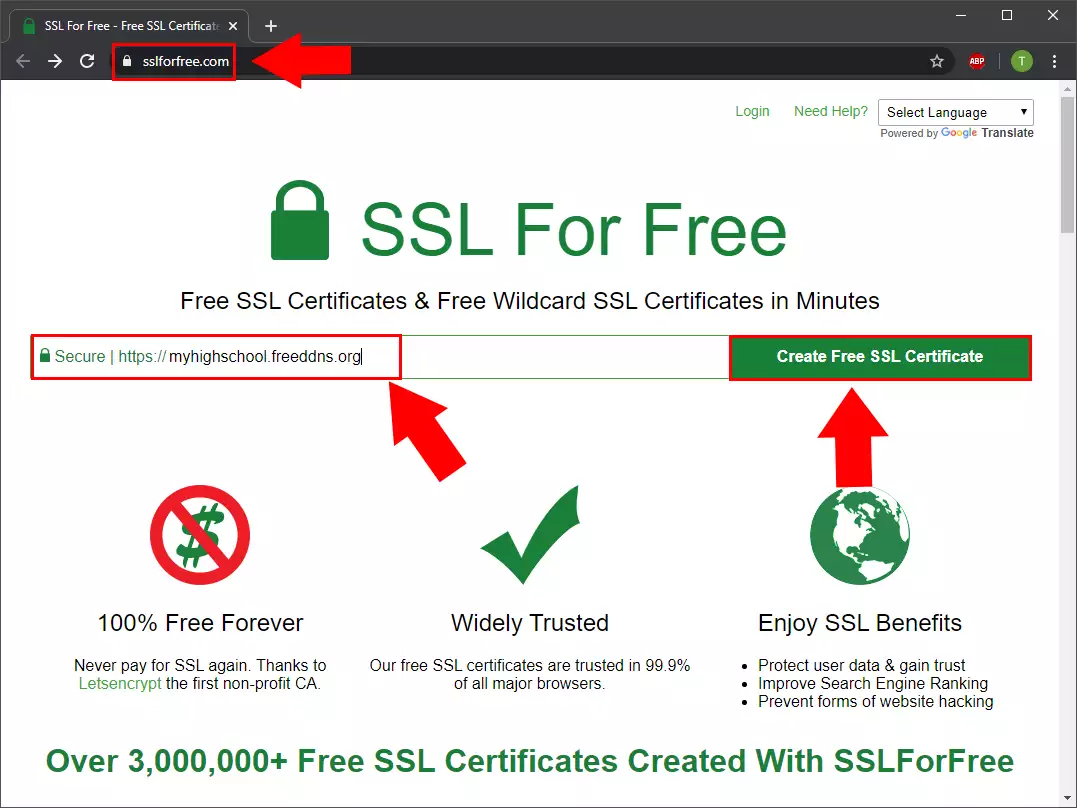
Fist step is to open the sslforfree.com webpage. On the main page type your previously created domain name. If you do not already have your own domain name you can find an esasy guide to create one here: How to create a DNS entry to point to your public IP. After you typed your domain name click on the Create Free SSL Certificate button (Figure 1).
Step 2 - Select Manual verification
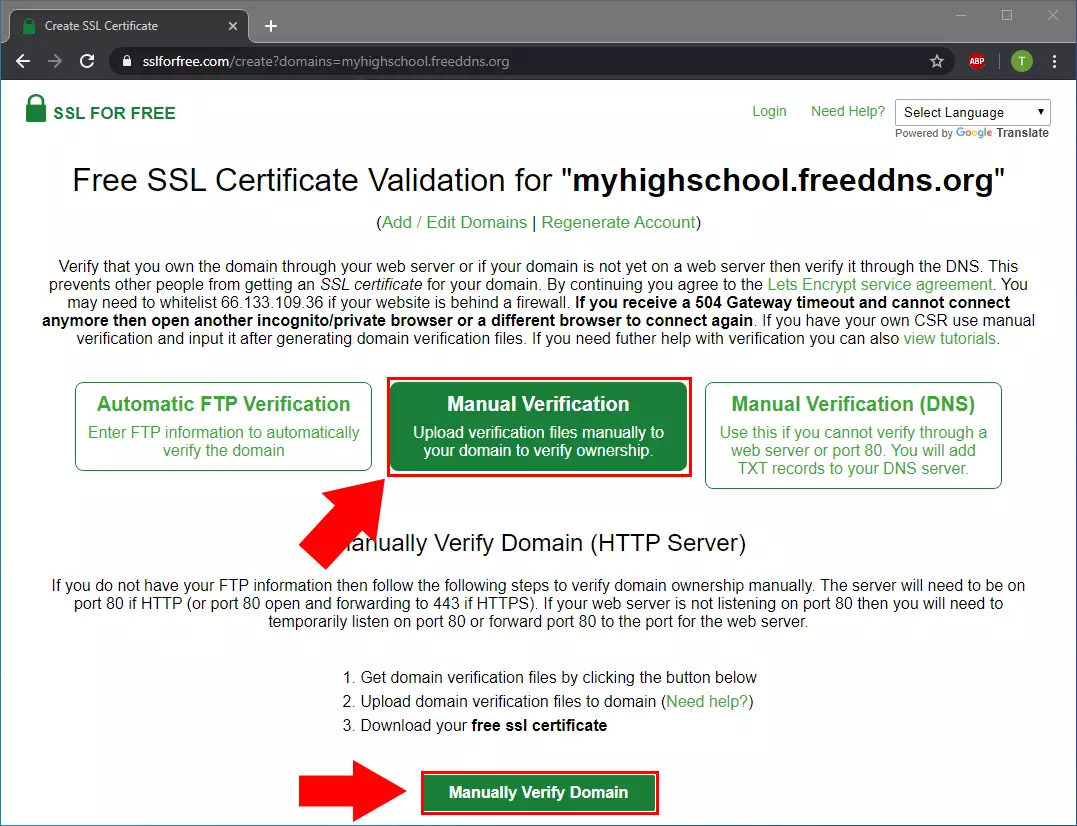
On the next page select the Manual Verification and click on the Manually Verify Domain button (Figure 2).
Step 3 - Download verification file
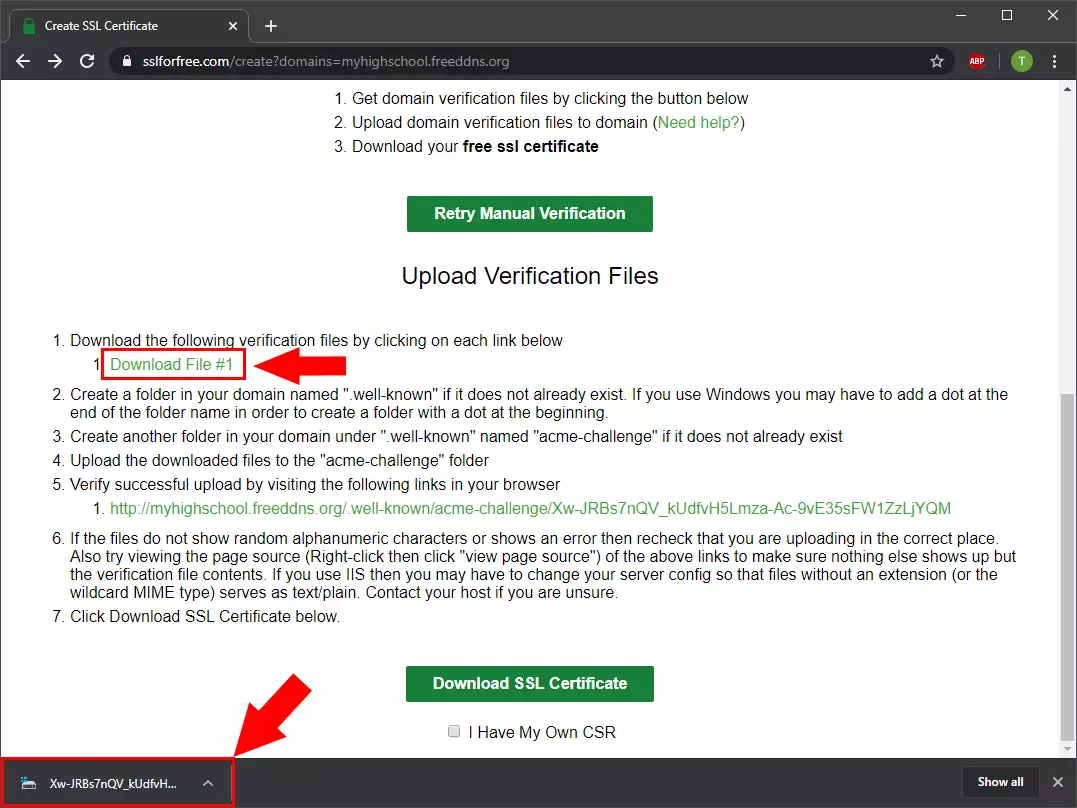
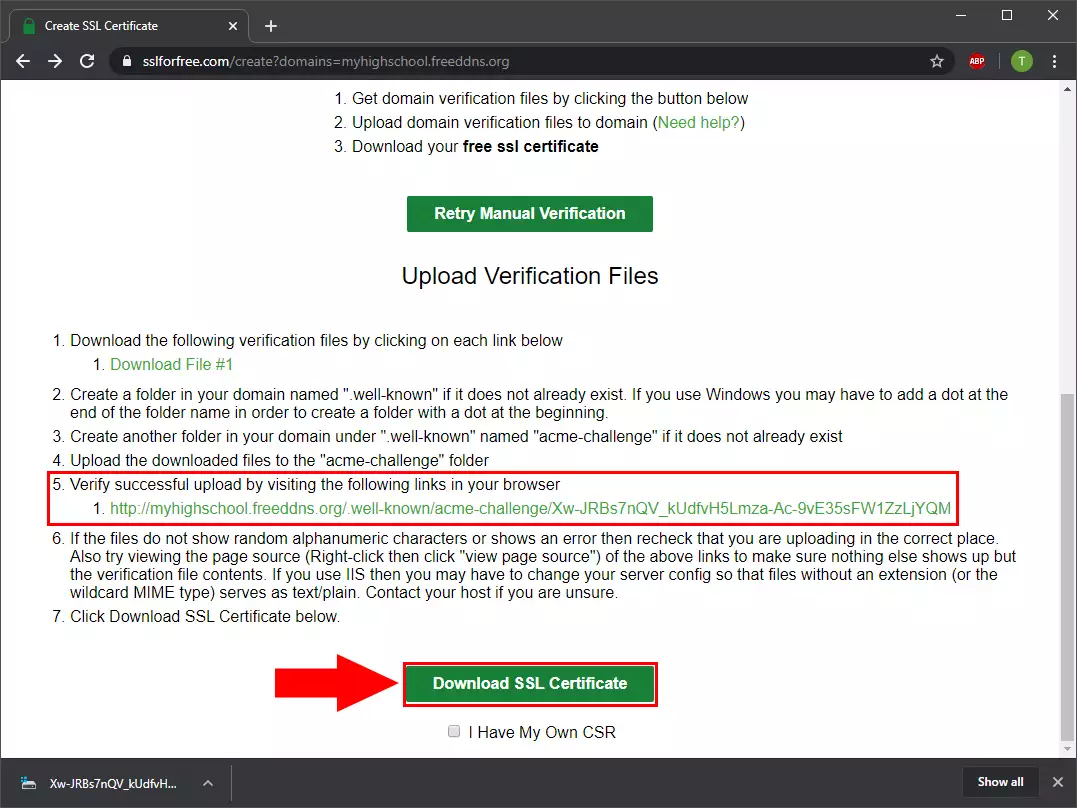
Now scroll to the bottom of the page and follow the instructions on the website. Download the file generated by the website (Figure 3).
Step 4 - Create the required folders
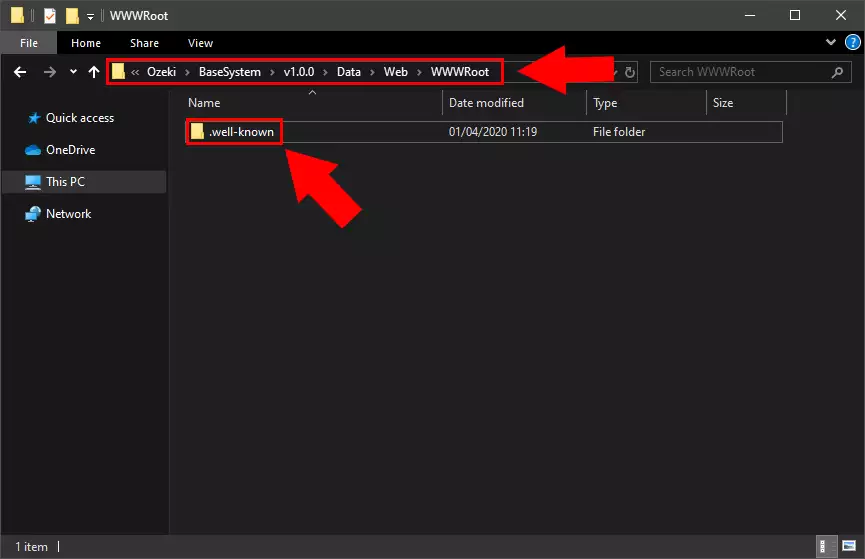
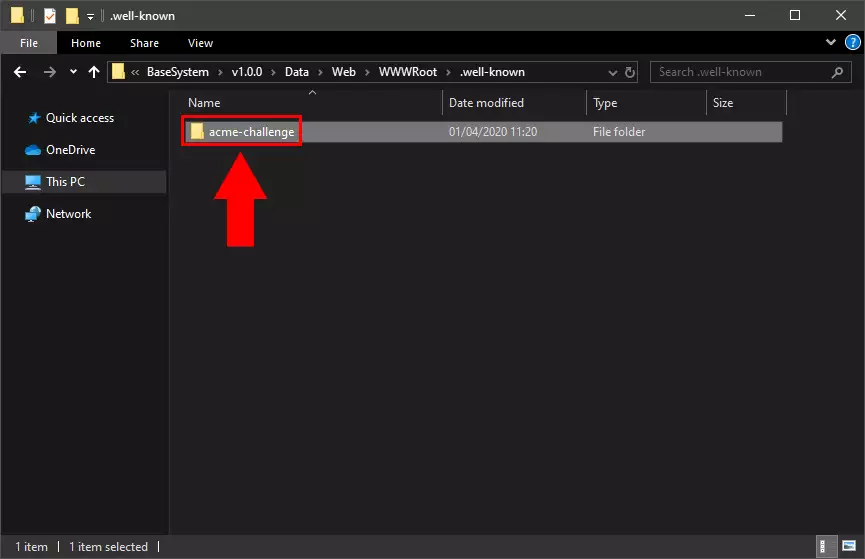
On the PC where your Ozeki 10 is installed. Go to the following folder: "C:\Program Files\Ozeki\BaseSystem\v1.0.0\Data\Web\WWWRoot". And here create a folder named ".well-known" (Figure 4). After it in the ".well-known" folder create a a folder named "acme-challenge" (Figure 5).
Step 5 - Copy file to the right folder
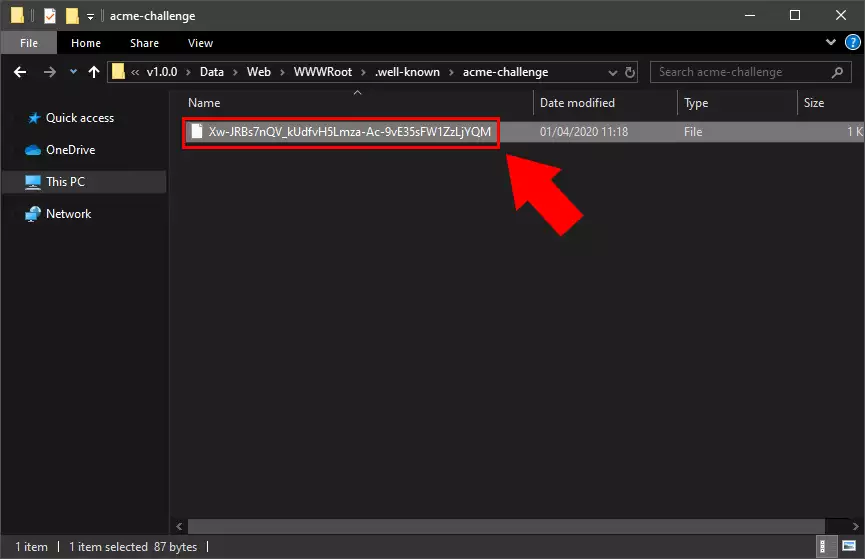
The next step is to copy the verification file to the acme-challenge folder (Figure 6).
Step 6 - Open Control Panel
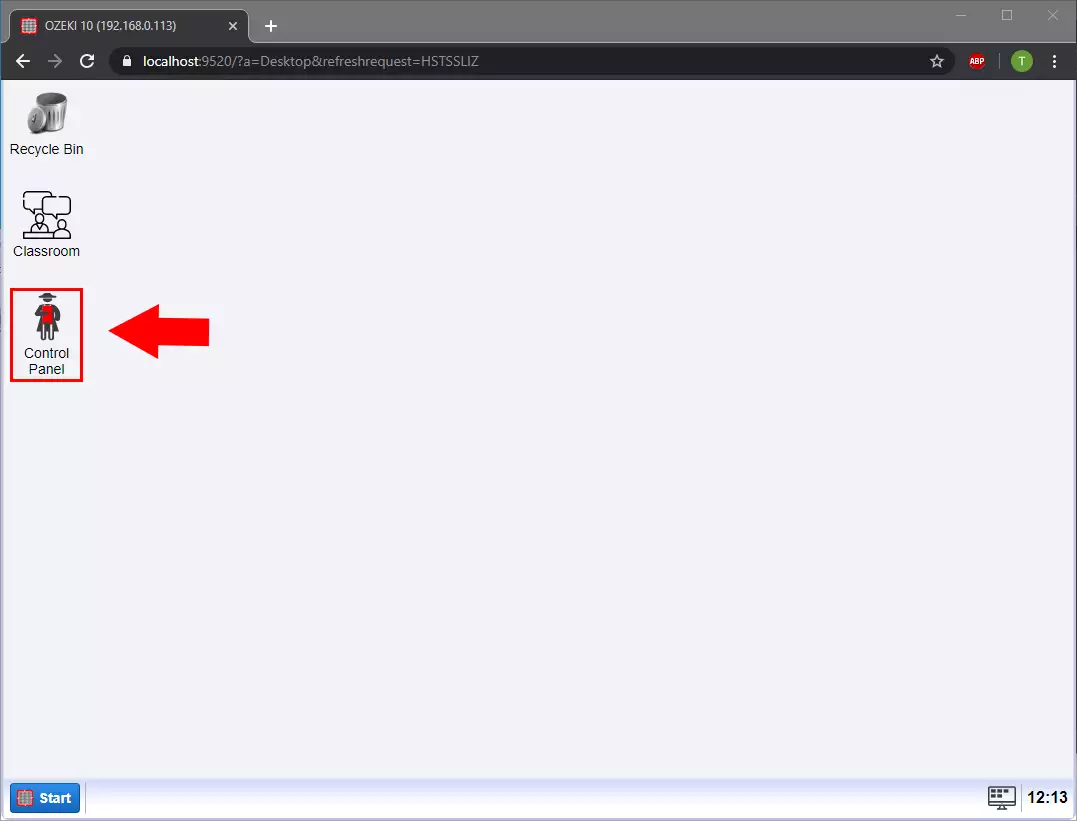
Now go the Ozeki 10 desktop and open the Control Panel (Figure 7).
Step 7 - Select Settings
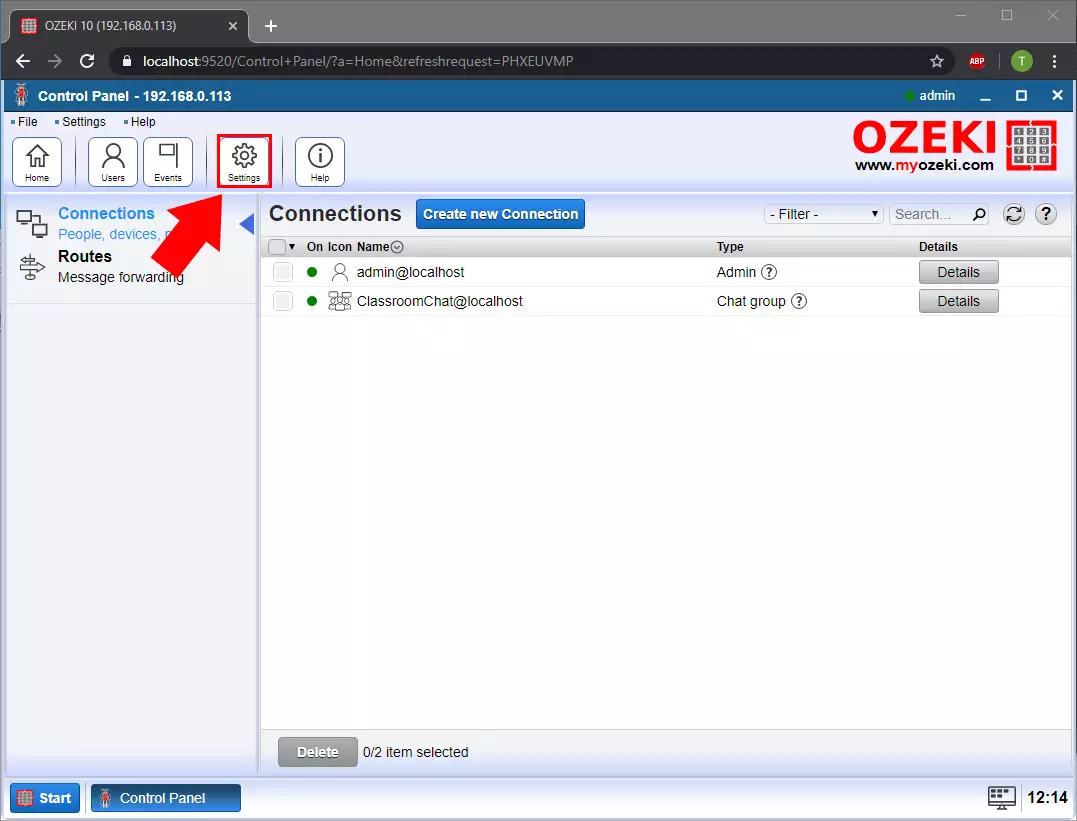
In the Control Panel main page click on the setting menu (Figure 8).
Step 8 - Enable HTTP
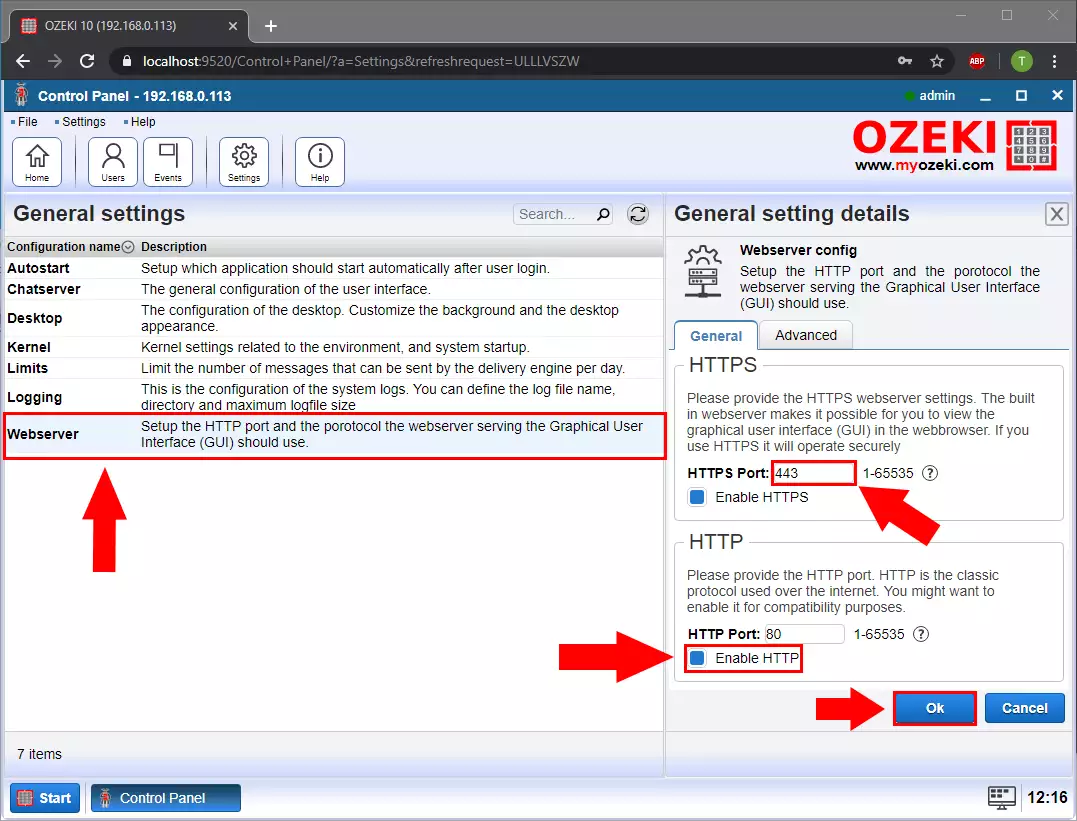
In the Setting menu choose the Webserver option. A details menu will open on the right side of the page. Here check the Enable HTTP option. If you haven't done it before here you can also change the HTTPS port from the default port to 443. Click on the OK button if you are done (Figure 9).
Step 9 - Open Services
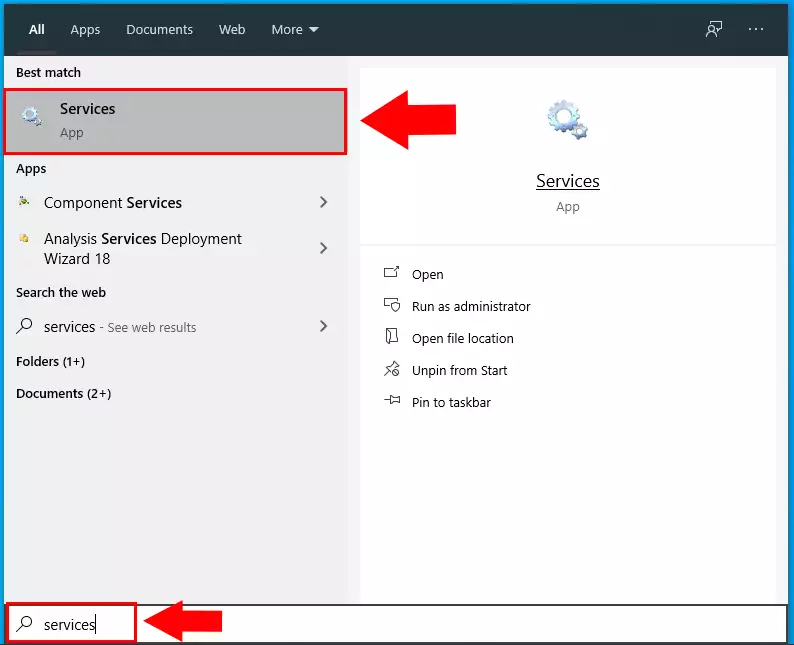
The port change will not take effect until the service is restarted. So the next step is to open the Services menu from the start menu. Type Services into the search bar and select Services (Figure 10).
Step 10 - Restart Ozeki service
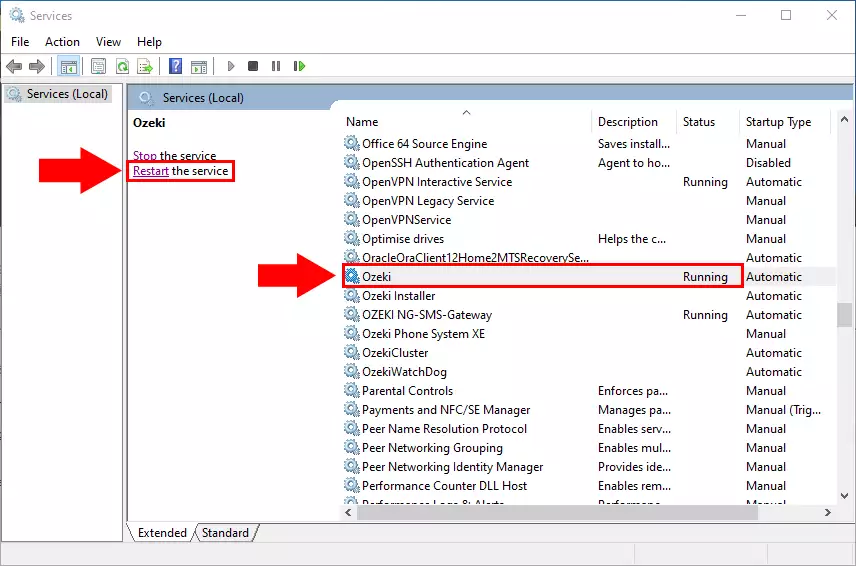
Find the Ozeki service in the Services menu and click on the restart (Figure 11).
Step 11 - Download SSL Certificate
After the service is restarted the and you made the port forwarding right in your network the sslforfree.com's server are able to communicate with your Ozeki 10 to verify. You can check it by clicking on the link in point 5. If your browser is download the verification file you did everything well. Now click on the Download SSL Certificate button (Figure 12).
Step 12 - Certificate generated
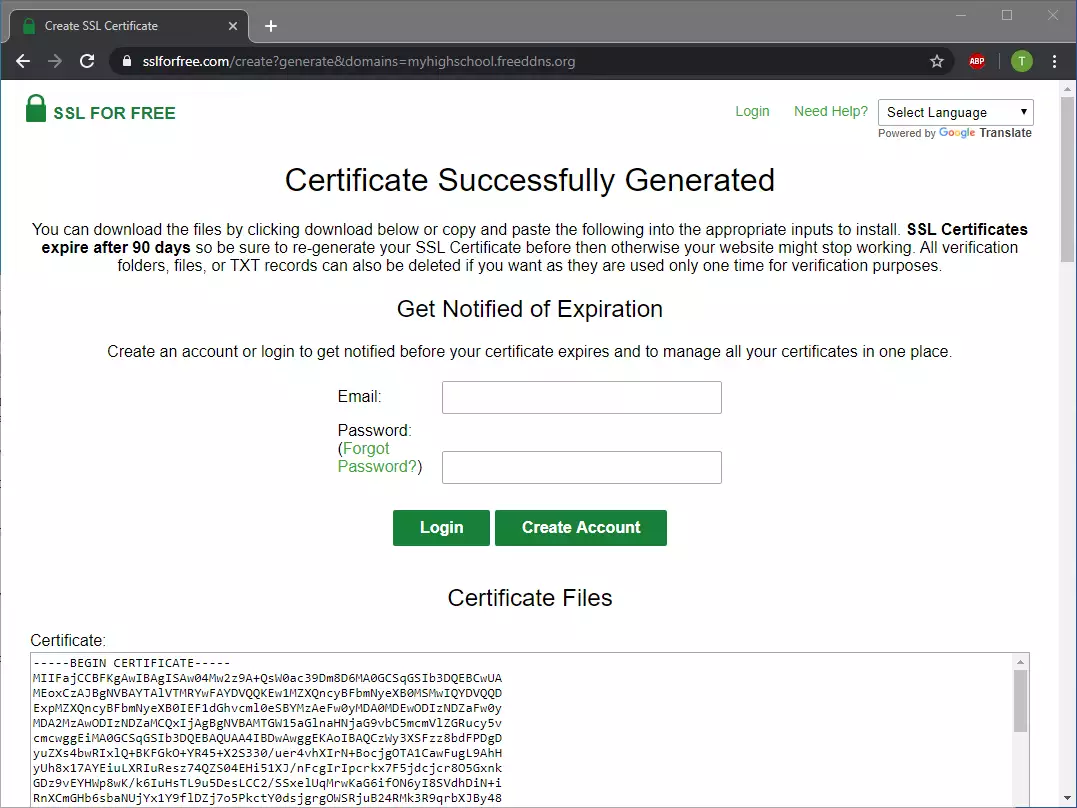
Now the website will generate the certificate for you. When it is done you will see the "Certificate Successfully Generated" page (Figure 13).
Step 13 - Download Certificate files
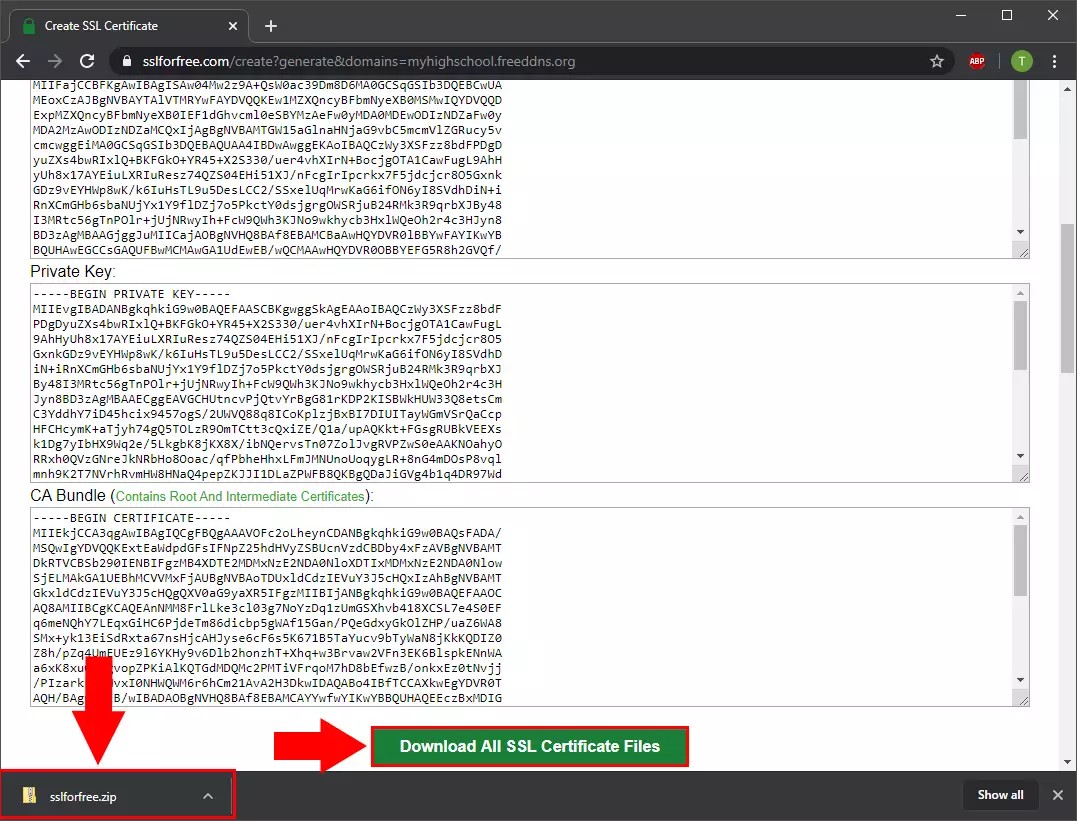
In tis page you can see your Certificate, Private key and the CA Bundle for this certificate. Download them whit the "Download All SSL Certificate Files" button (Figure 14).
Step 14 - Certificate downloaded
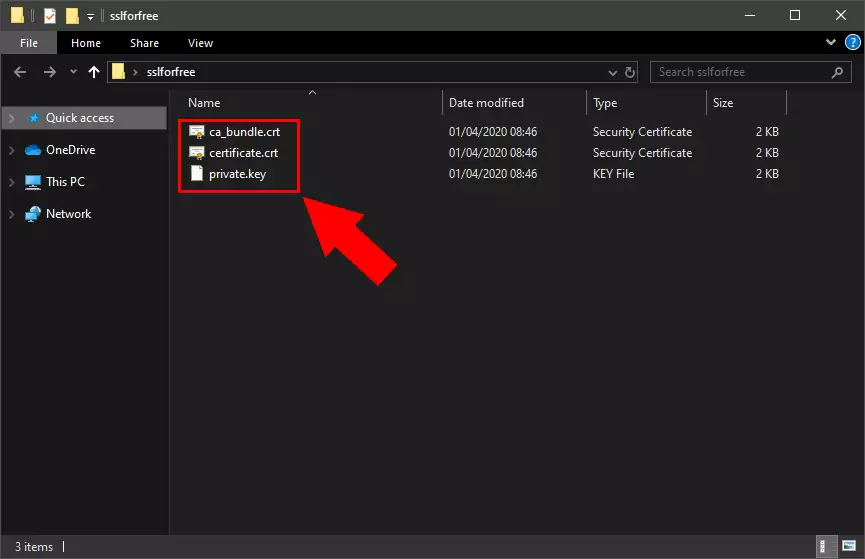
You will see the three certificate file in the downloaded zip file (Figure 15).
