Installation Guide
Prerequisites
- Internet connection
- Winrar or any compression software
- 29.3 MB free disk space
Download link
3D - Debrecen printer softwareInstallation steps
Download the .zip file from the above link
Right click on the .zip file and select extract here
In the installation directory, double click on Ozeki Printer_1.1.0.exe. A dialog box will appear with information about the software (Figure 1).
Figure 1 - Launching the file
Click on 'Next' to continue (Figure 2).
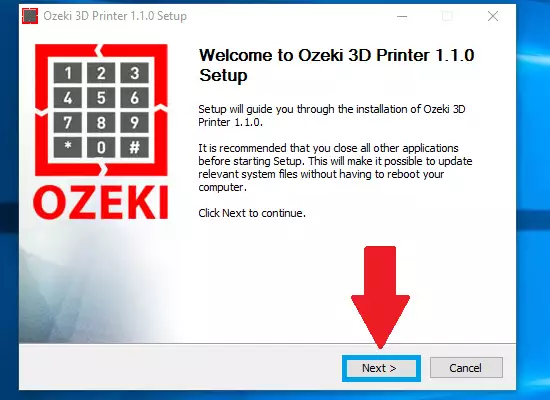
Figure 2 - Preparing the installation
The following box contains the License Agreement. Please read it carefully. If you accept all the terms and conditions please click on the 'I Agree' button. (Figure 3).
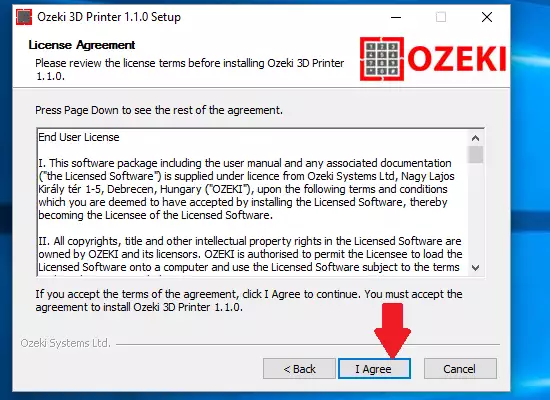
Figure 3 - License Agreement
Now the 'Choose Install Location' dialog box appears. With the 'Browse...' button you can select a different installation folder. To continue the installation click on 'Install' (Figure 4).
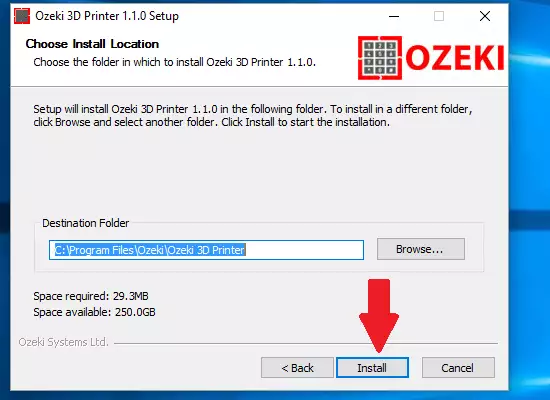
Figure 4 - Select an installation folder
In the meantime, you need to create your admin account in pop-up windows.
You need to specify the following information (Figure 5 and Figure 6):
Username: provide your username
Password: enter your password
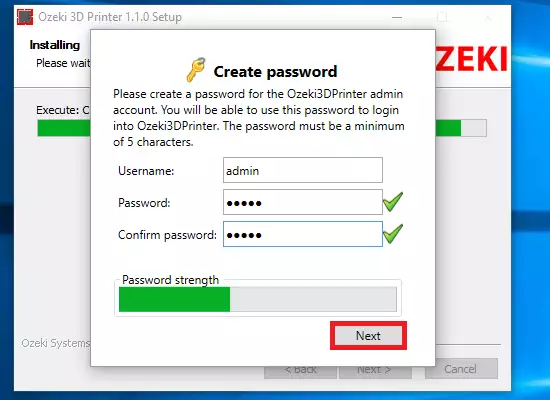
Figure 5 - Sign in data
Enter the following details:
First name: enter your first name
Last name: enter your last name
E-mail: enter your e-mail address
Company: enter your company's name
Country: enter your country
After you have given all of your account details, click on the 'Next' button (Figure 6).
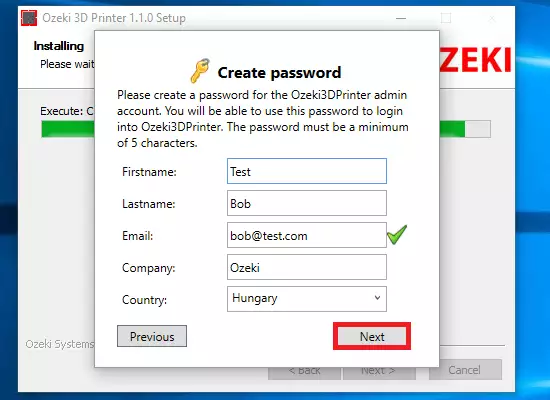
Figure 6 - General account data
When the account creation is finalised, click on the 'OK' button (Figure 7).
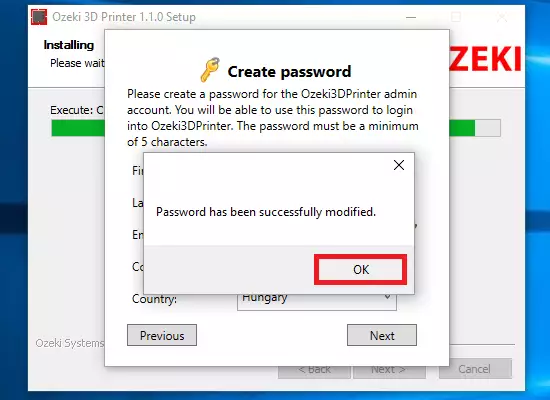
Figure 7 - Confirmation
Finally, when the installation procedure is over, click on the "Finish" button (Figure 8).
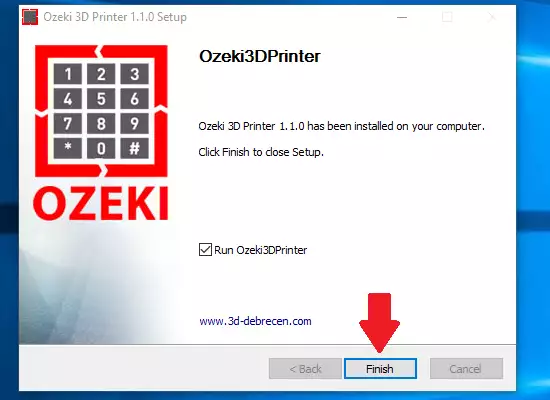
Figure 8 - Finishing installation
