How to share your screen with OzekiDesk
OzekiDesk makes remote screen sharing simple by letting one computer share its desktop while another connects to view or control it. Download and run OzekiDeskSimple.exe on both computers, start screen sharing on the host, then enter the displayed remote ID and password on the connecting device. Once connected, you can see and work with the remote screen securely.
Download OzekiDesk: OzekiDeskSimple.exe
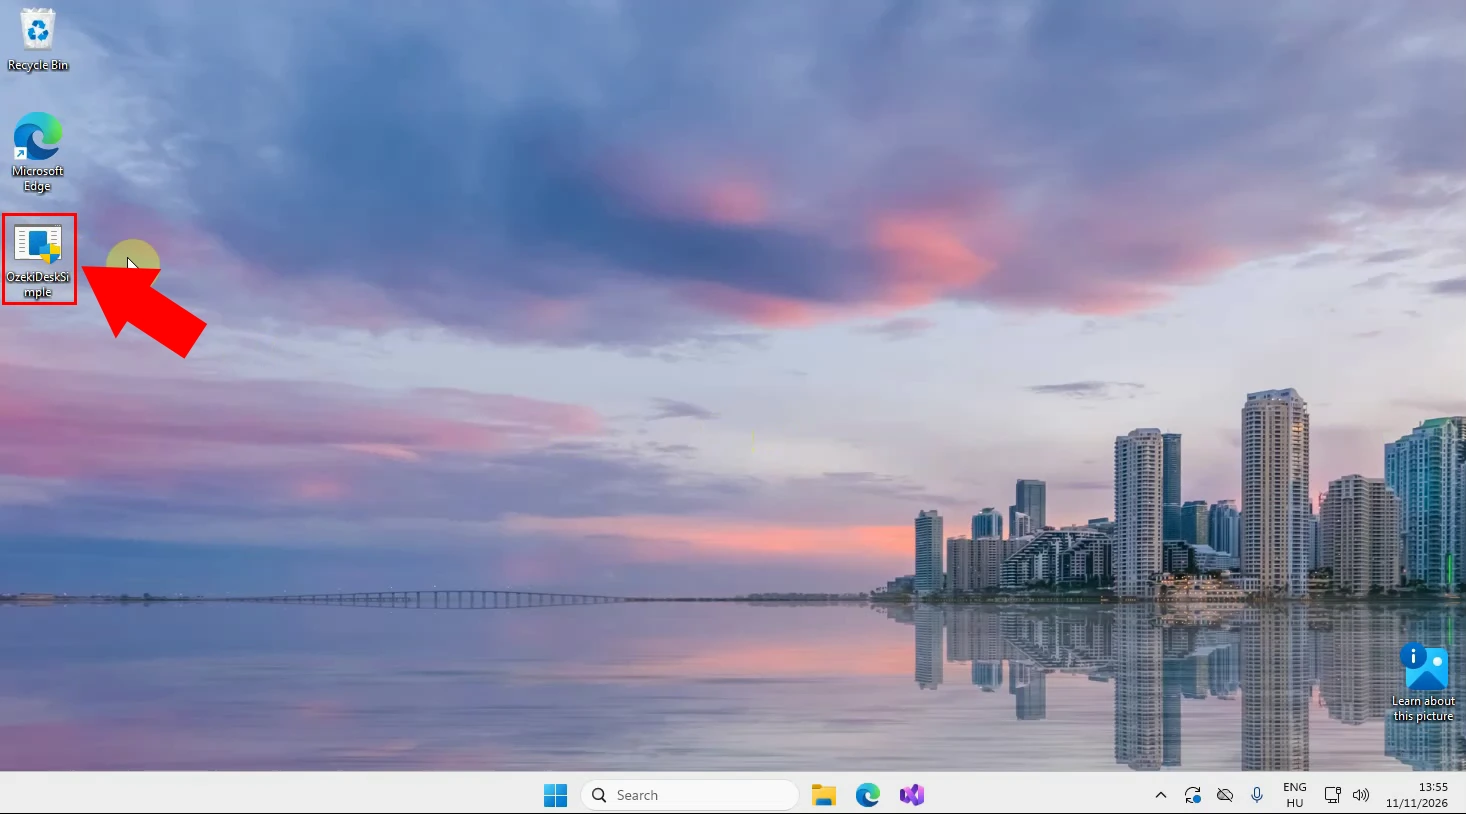
Download OzekiDeskSimple.exe and launch it on the computer whose screen you want to share. Allow the program to run if Windows or security software asks for permission. Keep this window open, because it will display the remote ID and password needed by the person connecting to your computer.
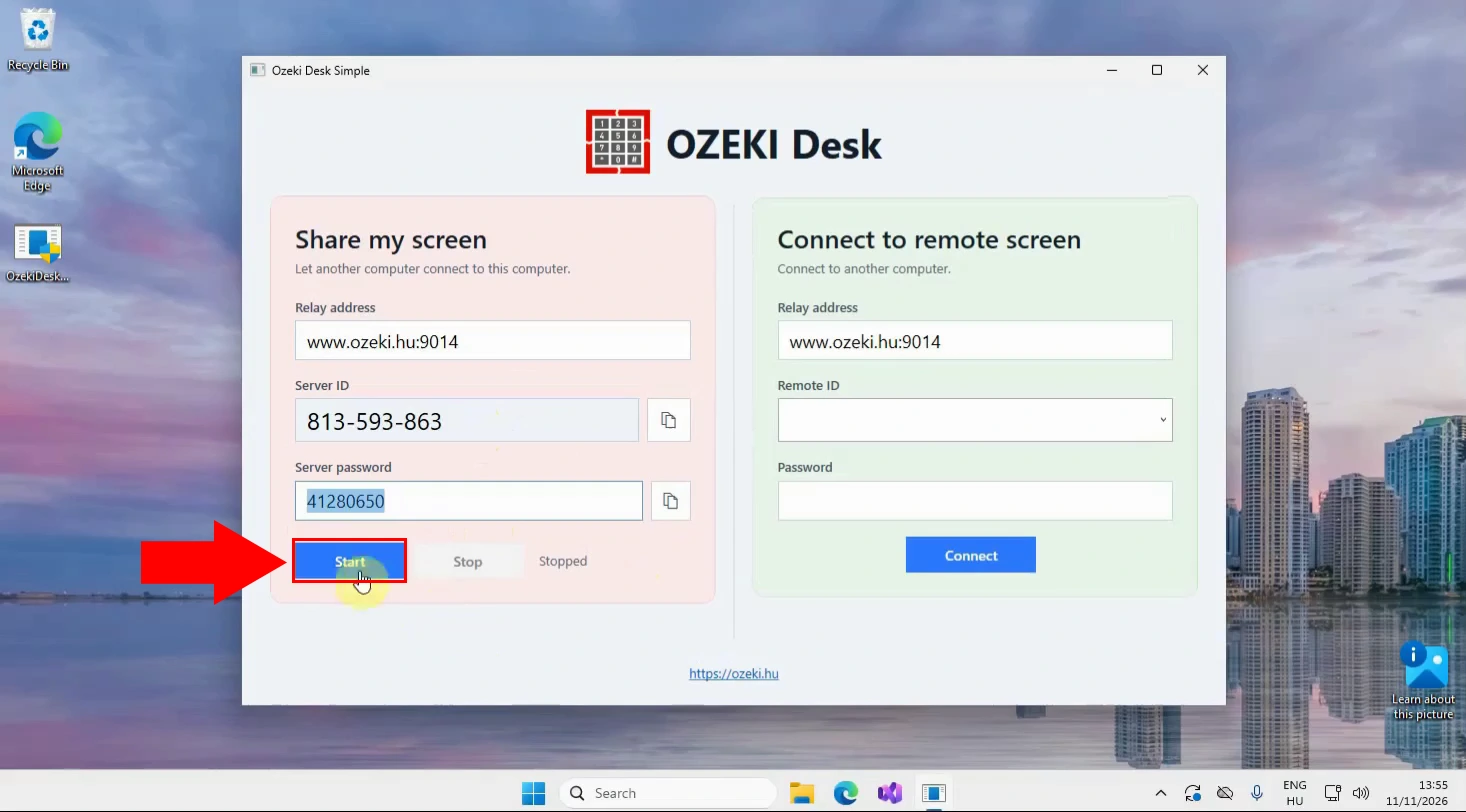
On the computer sharing its screen, select Start screen share in OzekiDesk. The application will then generate the connection details, including the remote ID and password. Leave the program running and share these details only with the trusted person who will view or control your computer.
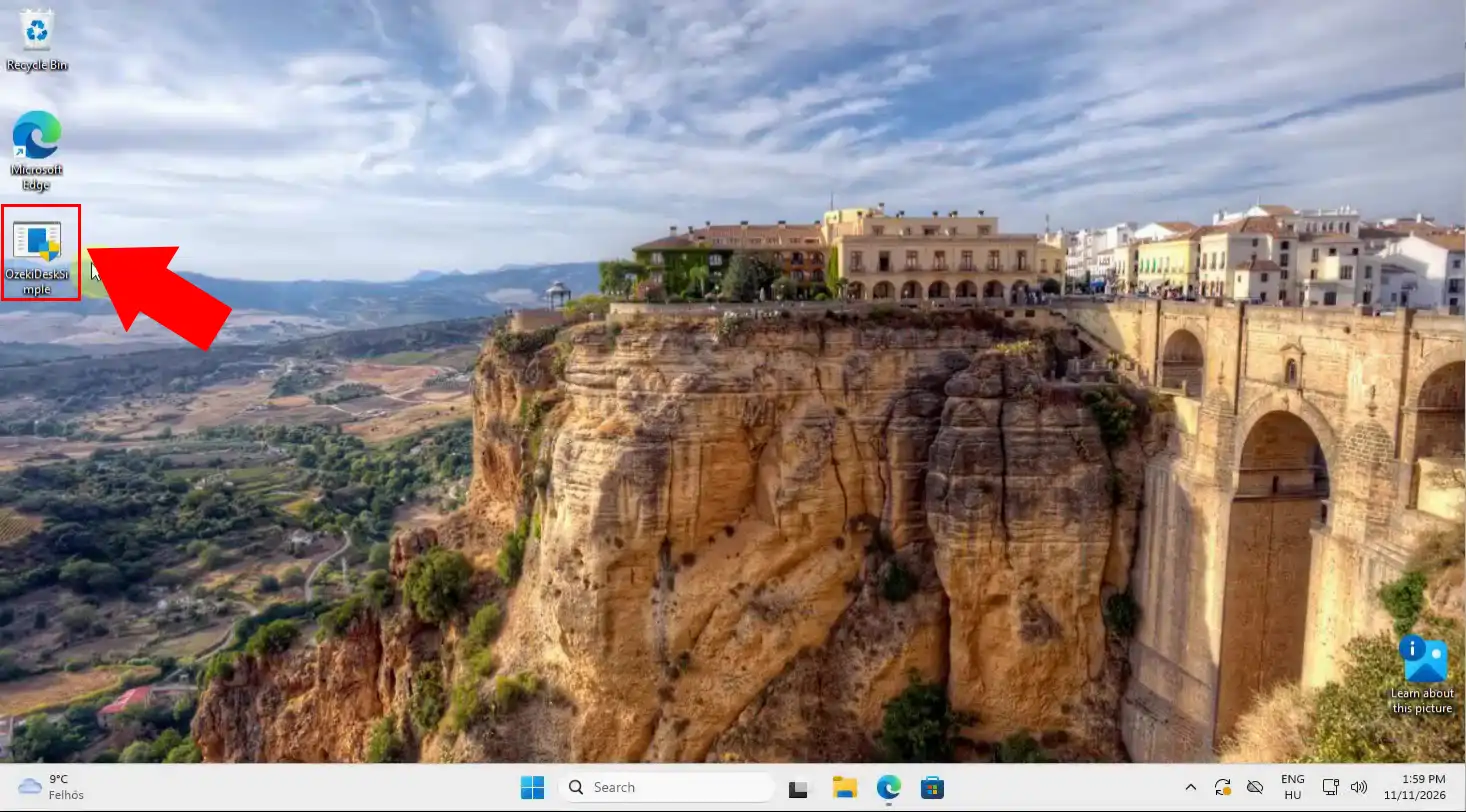
On the computer from which you want to connect, download and launch OzekiDeskSimple.exe as well. This copy does not share a screen; it is used to access the remote computer. Make sure both computers have an active internet connection before entering the connection details.
In the connecting OzekiDesk application, enter the remote ID and password shown on the computer that is sharing its screen. Check every character carefully, because the password is required to authorize the connection. These details should come directly from the person sharing their screen.
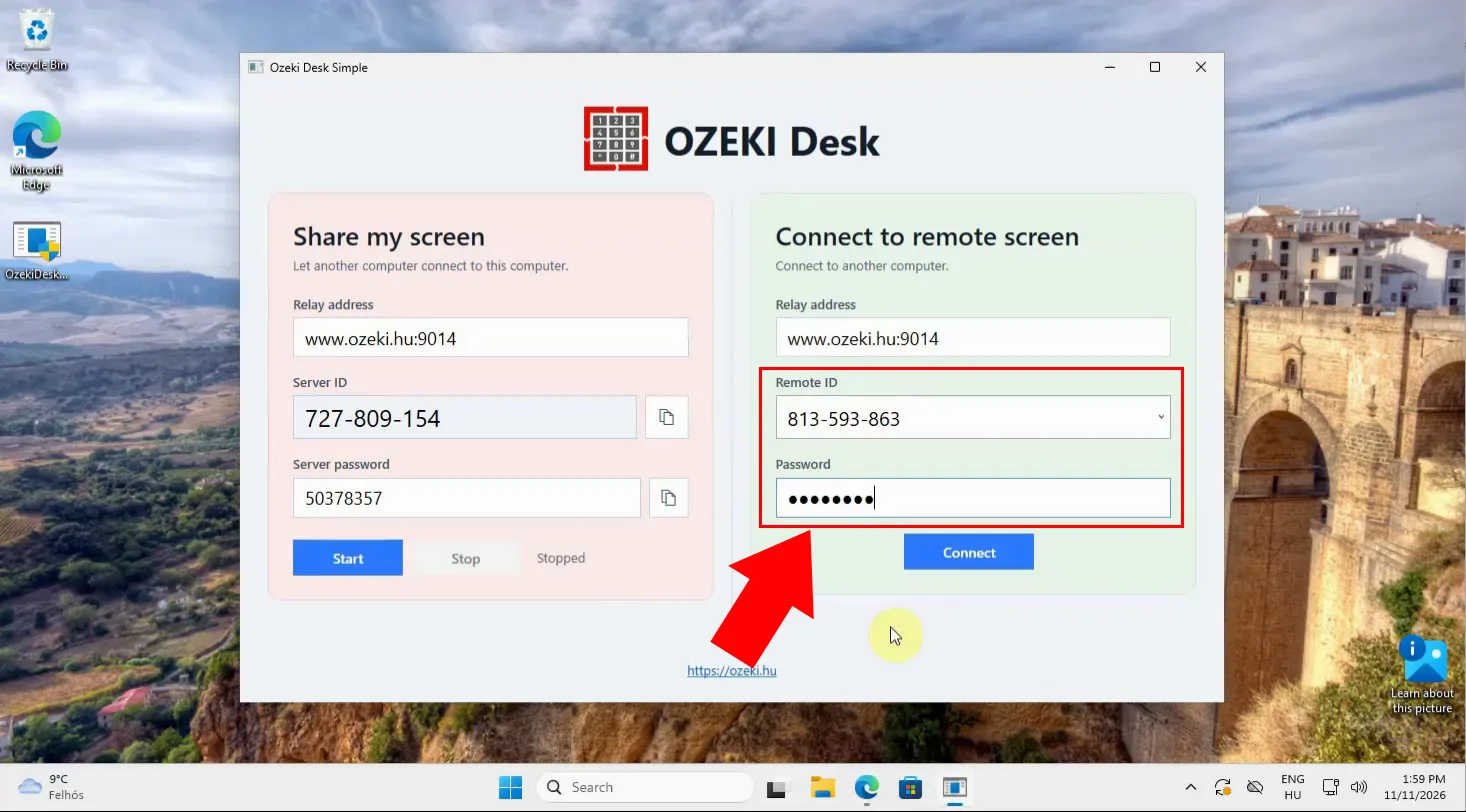
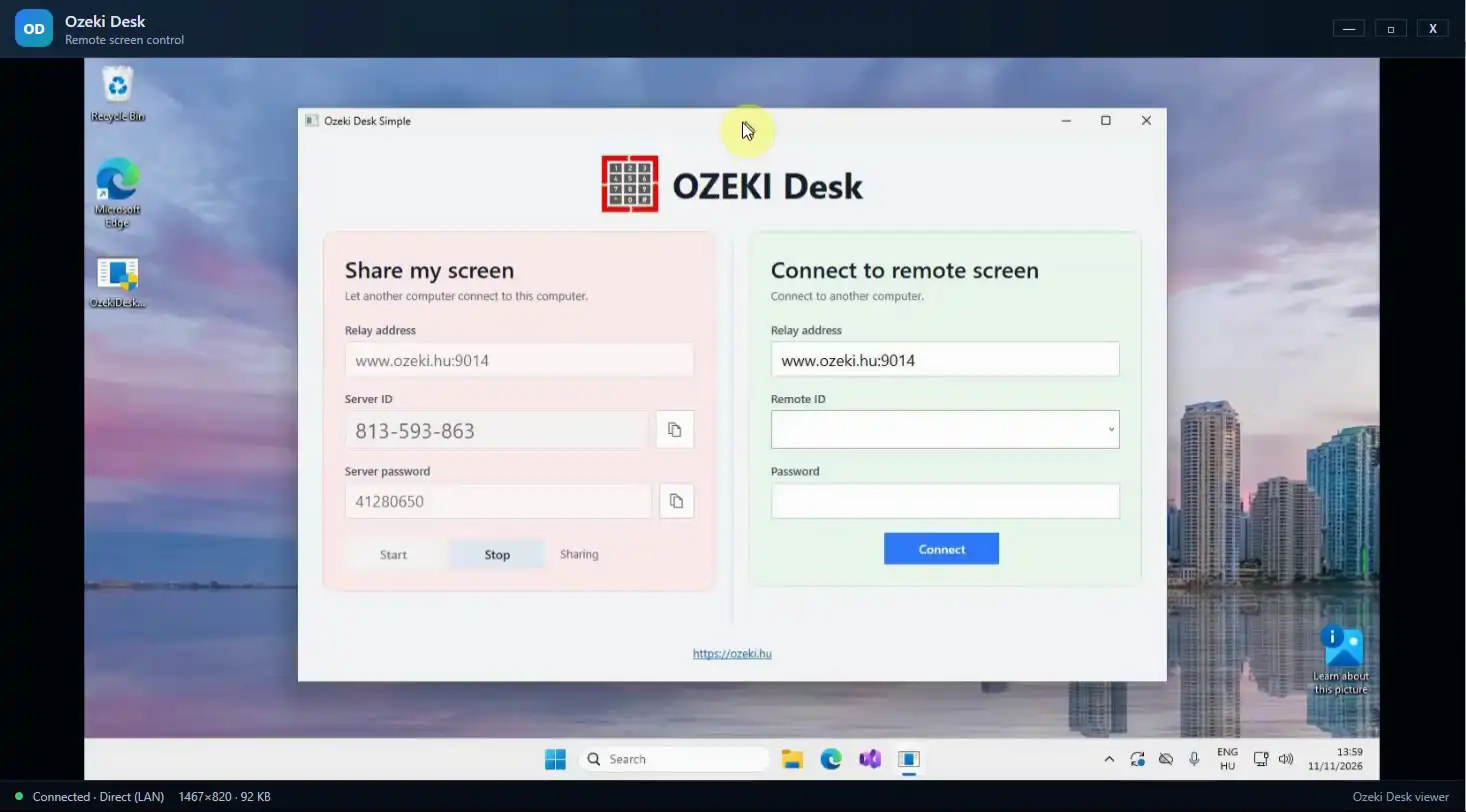
After entering the remote ID and password, choose Connect to remote screen. OzekiDesk will attempt to establish a secure connection with the other computer. If the details are correct and the sharing program is still running, the remote desktop should become available in the connection window.
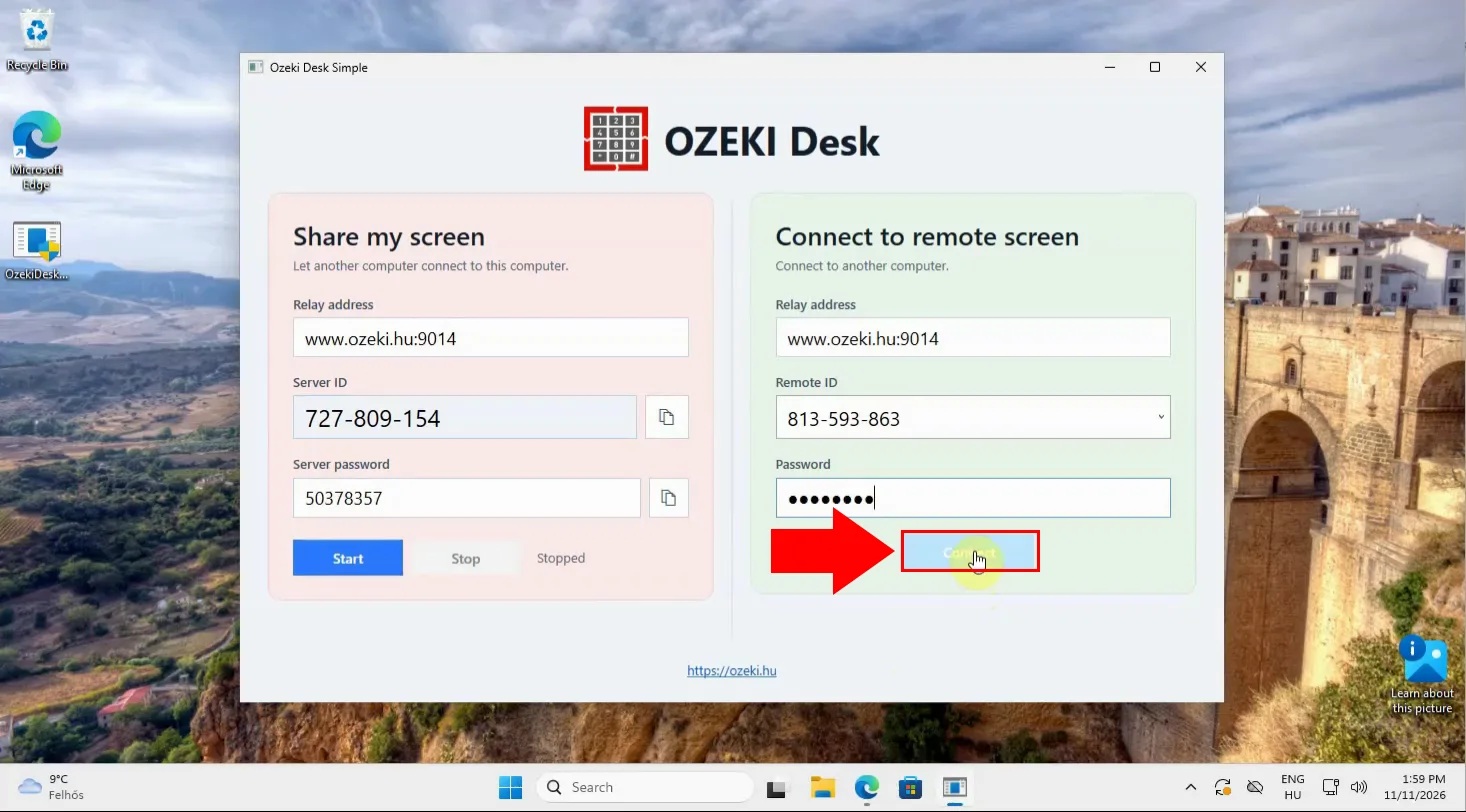
Once connected, you can see and interact with the remote computer’s screen from your own device. Confirm the connection with the other person before using their computer, and close OzekiDesk when the session is finished to end access. The page indicates that Figure 6 shows the successfully connected remote screen.