How to setup SQL Anywhere database connection
Step 1 - Create new database connection
Start the process by creating a new database connection. To do so, you need to click on Create new database connection button.

Step 2- Type of database
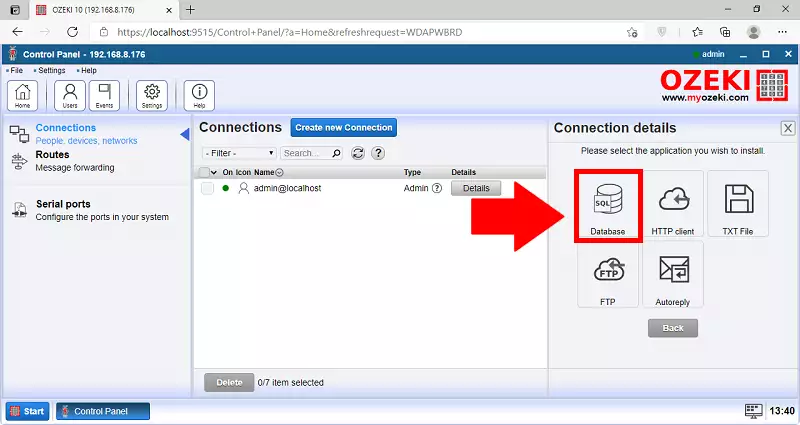
With Ozeki Bulk Messenger software solution you are able to connect to different types of database servers. In the following figure you can see on which button you need to click to install a new SQL Anywhere connection.


Step 3 - Database connection details
There are two possible ways for giving the details: you can give the data below the General menu, or you can give the connection string below the Advanced menu. In case you give the connection string, it overwrites the data given below the General menu.In this example we give the connection string under the Advanced menu:
Driver={SQL Anywhere 17}; Host=192.168.112.133; Server=localhost; port=2683; db=ozeki; uid=ozekiuser; pwd=qwe123;
- Driver={SQL Anywhere 17}; -The type of the SQL Anywhere driver
- Host=192.168.112.133; - the IP address
- Server=localhost; - the required server
- Port=2683; - you can reach the database on the given IP address with the port number
- Database=ozeki; - the name of the database that stores the contacts
- User ID=ozekiuser; - the username with which you can connect to the database
- Password=qwe123; - the password that belongs to the previously given username

If the connection is successful, a green tick will appear under State.
Click to the Open button to go to the details page of this connection

The event log will show you if you have connected successfully. Check the data below Event log

Step 4 - Testing the database connection
If you click to the Test button, you can give the database table in which you store your contact lists. Click to the Execute button to list the phone numbers that are stored in the given database's table.
