3CX, how to create a SIP account
This guide shows you how to create an extension on 3CX. The extension can be used with Ozeki. Before you start to configure this solution it is assumed that you have already installed your 3CX Phone System.
Configure 3CX Phone system
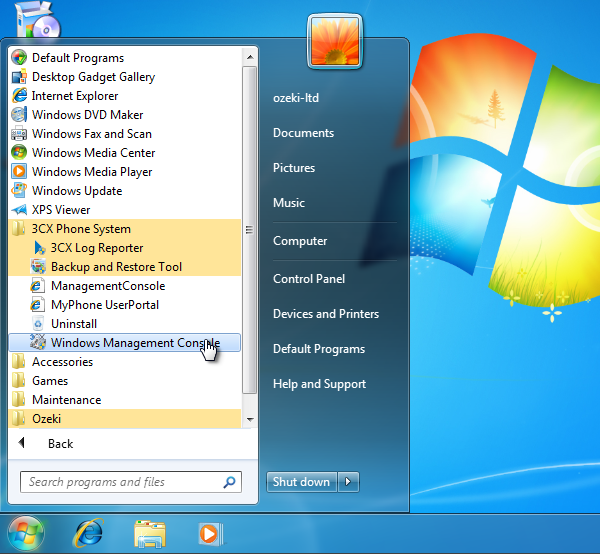
First of all your 3CX Phone System needs to be configured. Click on Start menu, expand the 3CX Phone System folder and click on Windows Management Console (Figure 1).

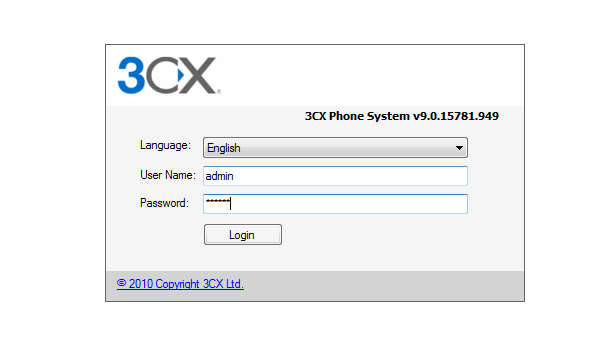
Once it is started, enter as an administrator. Provide your user name and password in the respective fields (Figure 2).

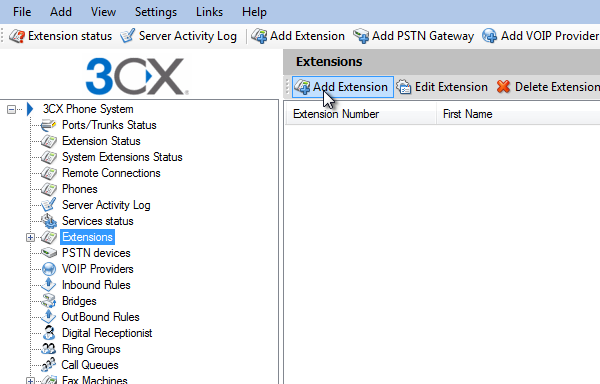
After login, click on 'Extensions' in the navigation menu, and click on 'Add Extension' in the 'Extensions' panel (Figure 3).

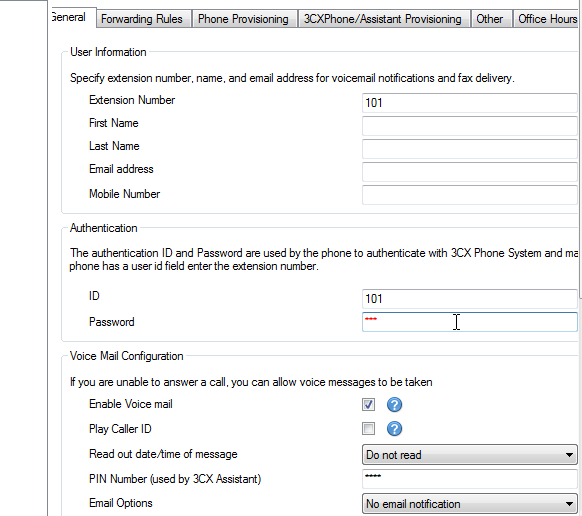
Fill the 'Extension Number' field, provide an ID and a Password in the Authentication group (Figure 4).

To save your settings, click on 'OK'.

Now the configuration is complete so you can start your phone lines and connect them with Ozeki.
More information
- Ozeki Phone System
- How to create a SIP account in Asterisk
- How to create a SIP account in AsteriskNow
- How to create a SIP account in Elastix
- How to create a SIP account in FreePBX
- How to create a SIP account in Kamailio
- How to create a SIP account in OpenSIPS
- How to create a SIP account in PBXnSIP
- How to create a SIP account in PBXpress
- How to create a SIP account in SipX ECS
- How to create a SIP account in 3CX

 Sign in